Bird Feeder Design Gallery
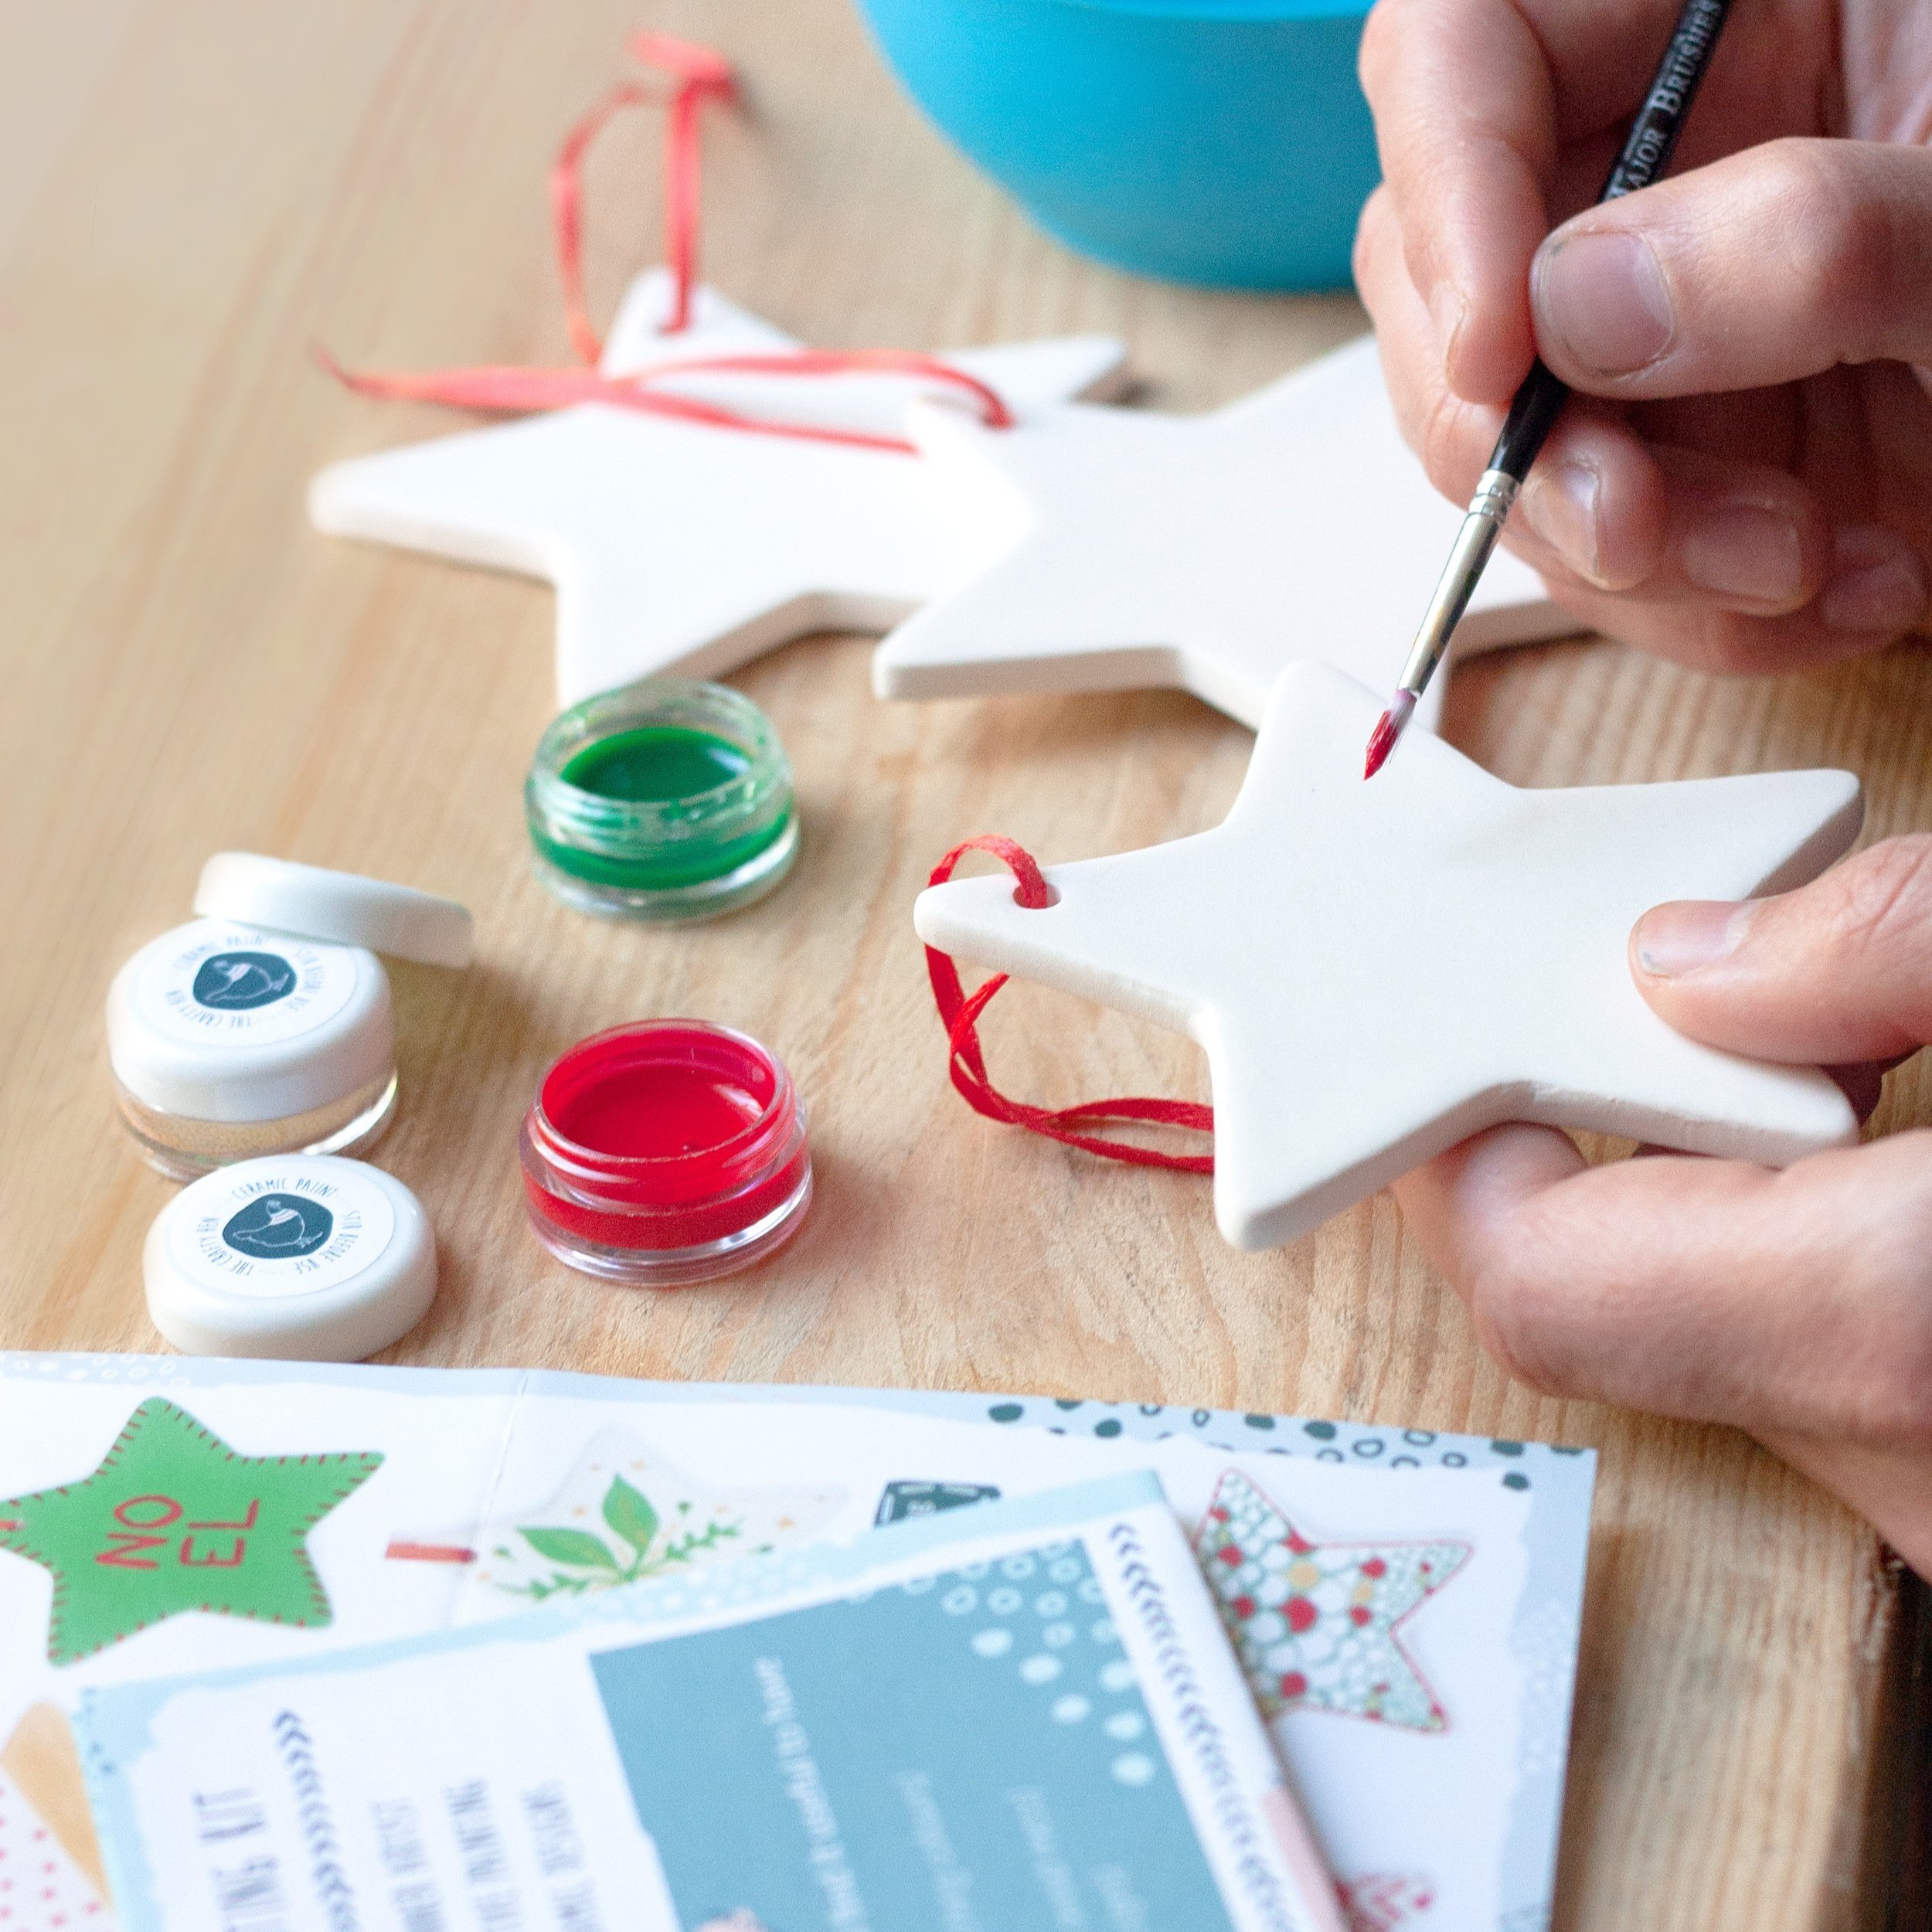
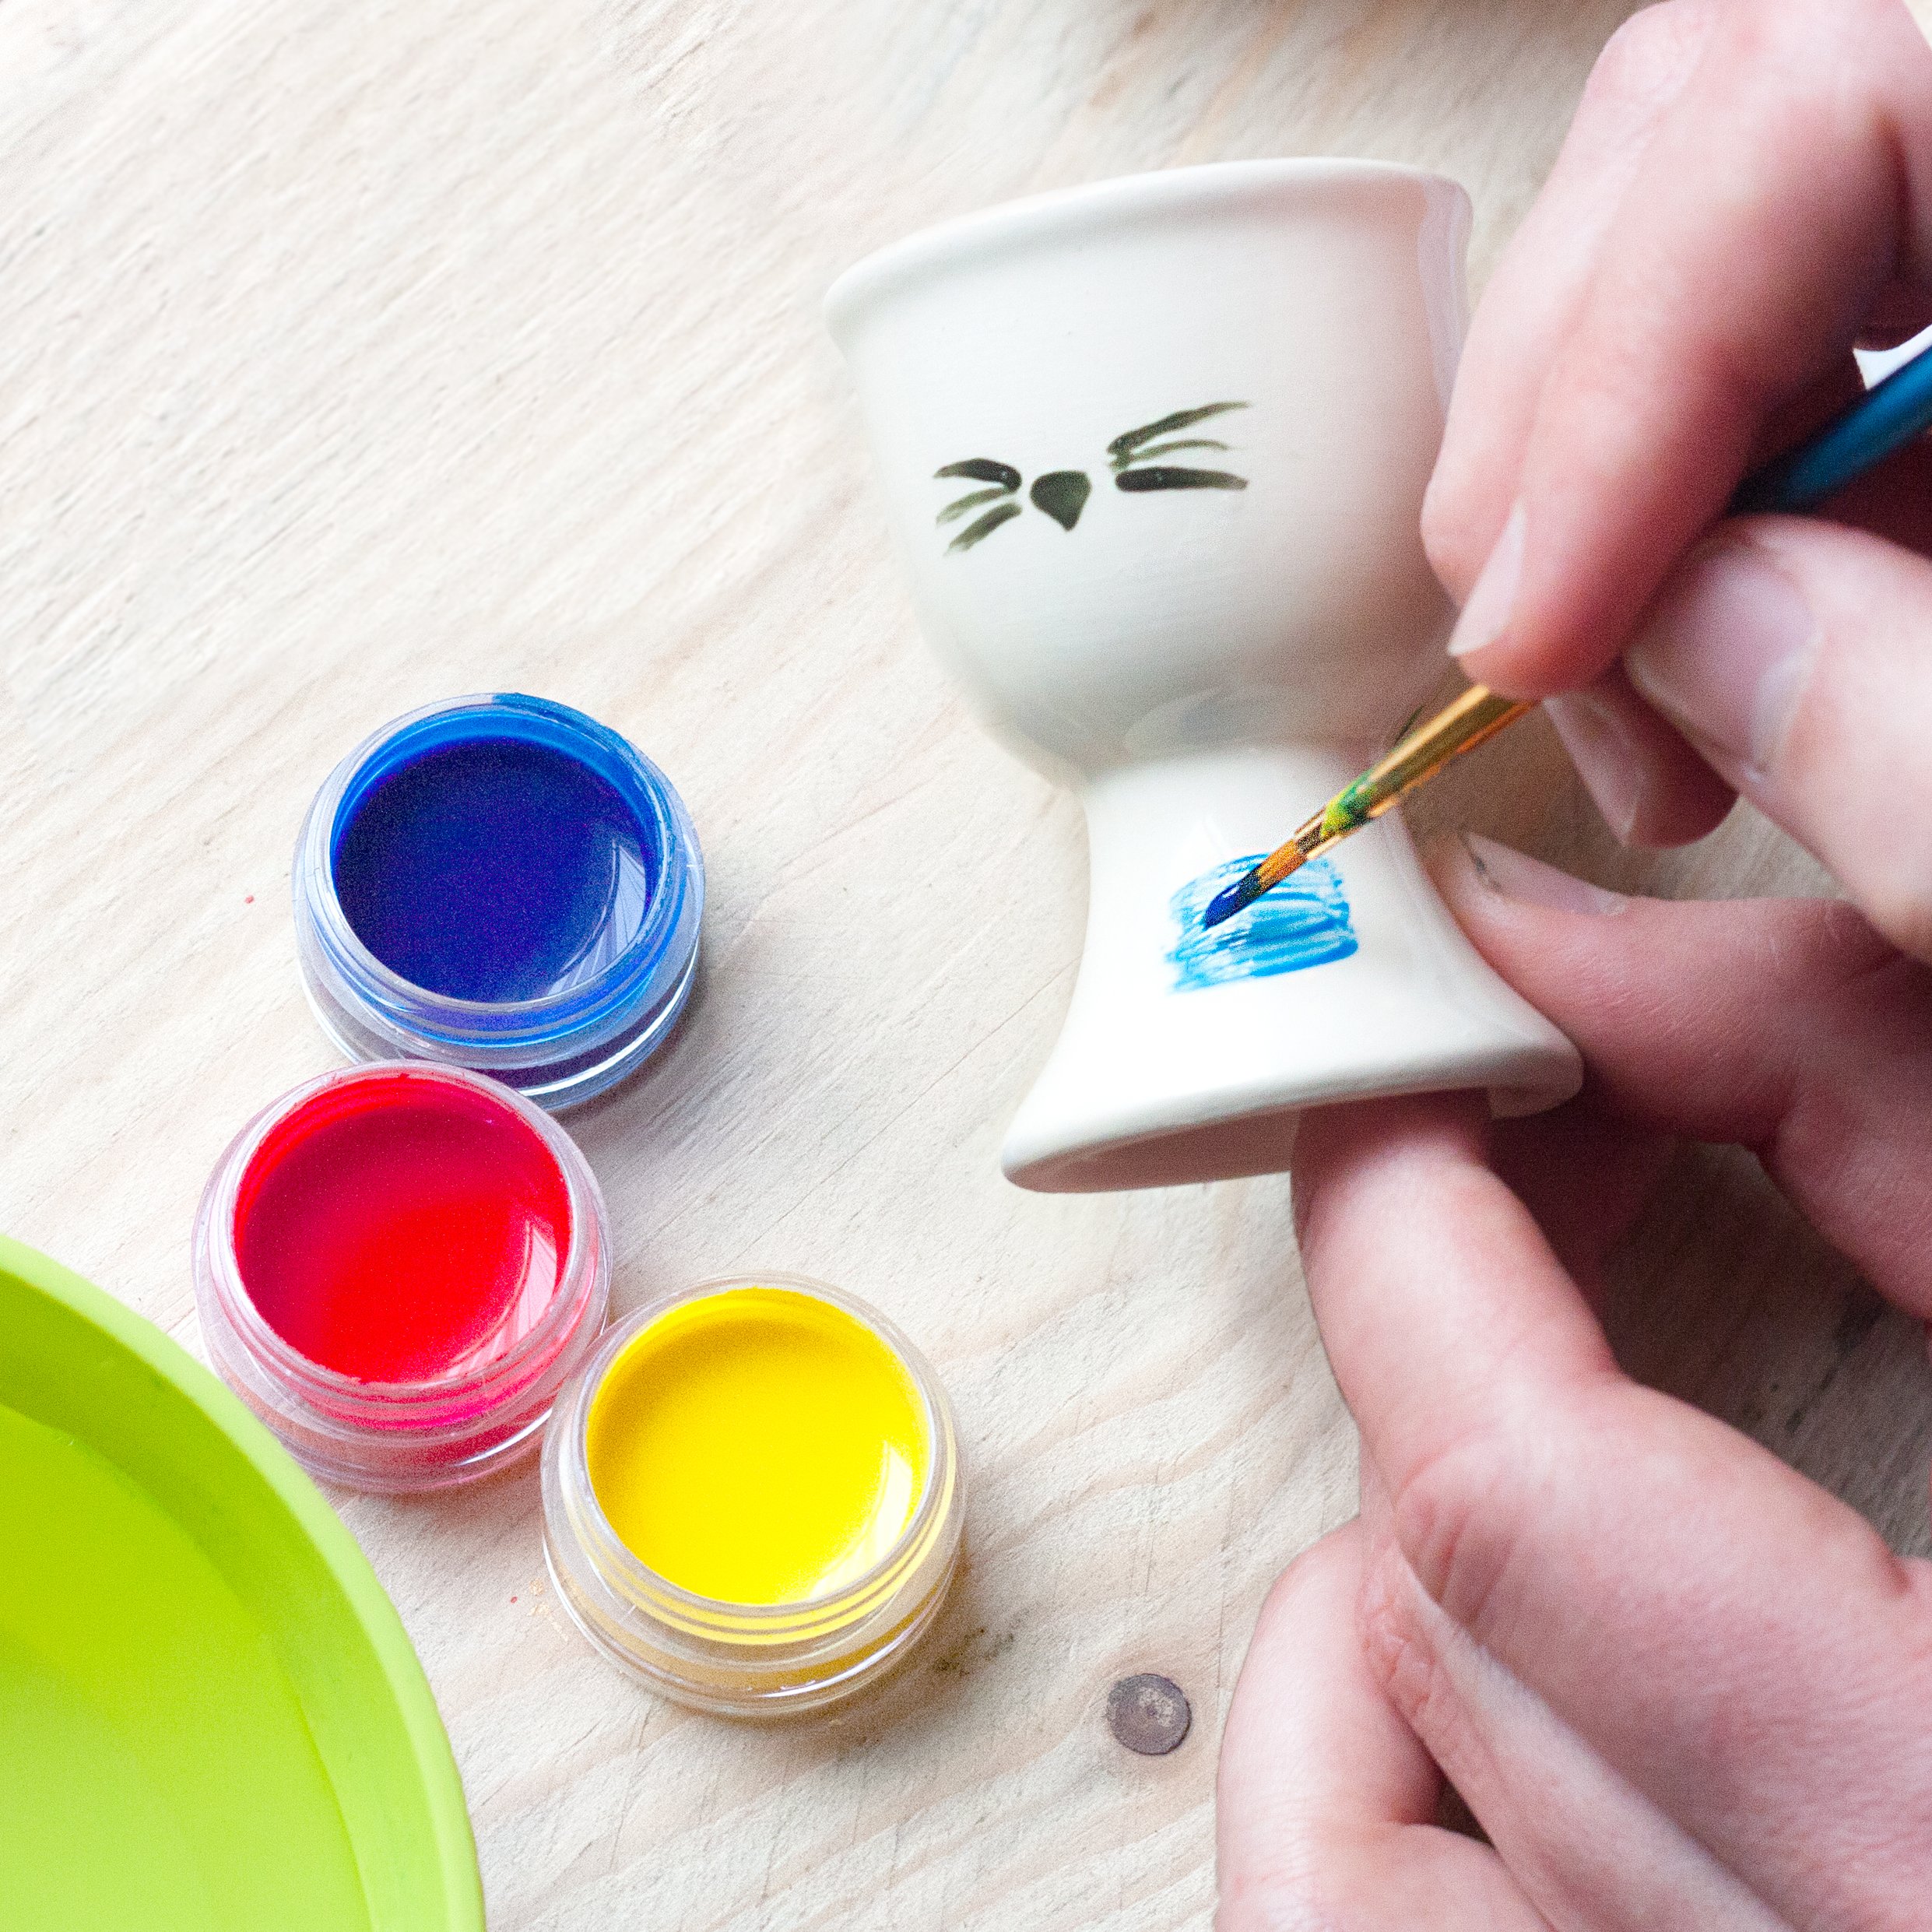
Hello! You must be the owner of our lovely ceramic decoration kits. Enjoy a relaxing and creative hour or two painting your very own colourful bird feeder ready to brighten up your outdoors space.
Start by getting to understand the colour wheel.
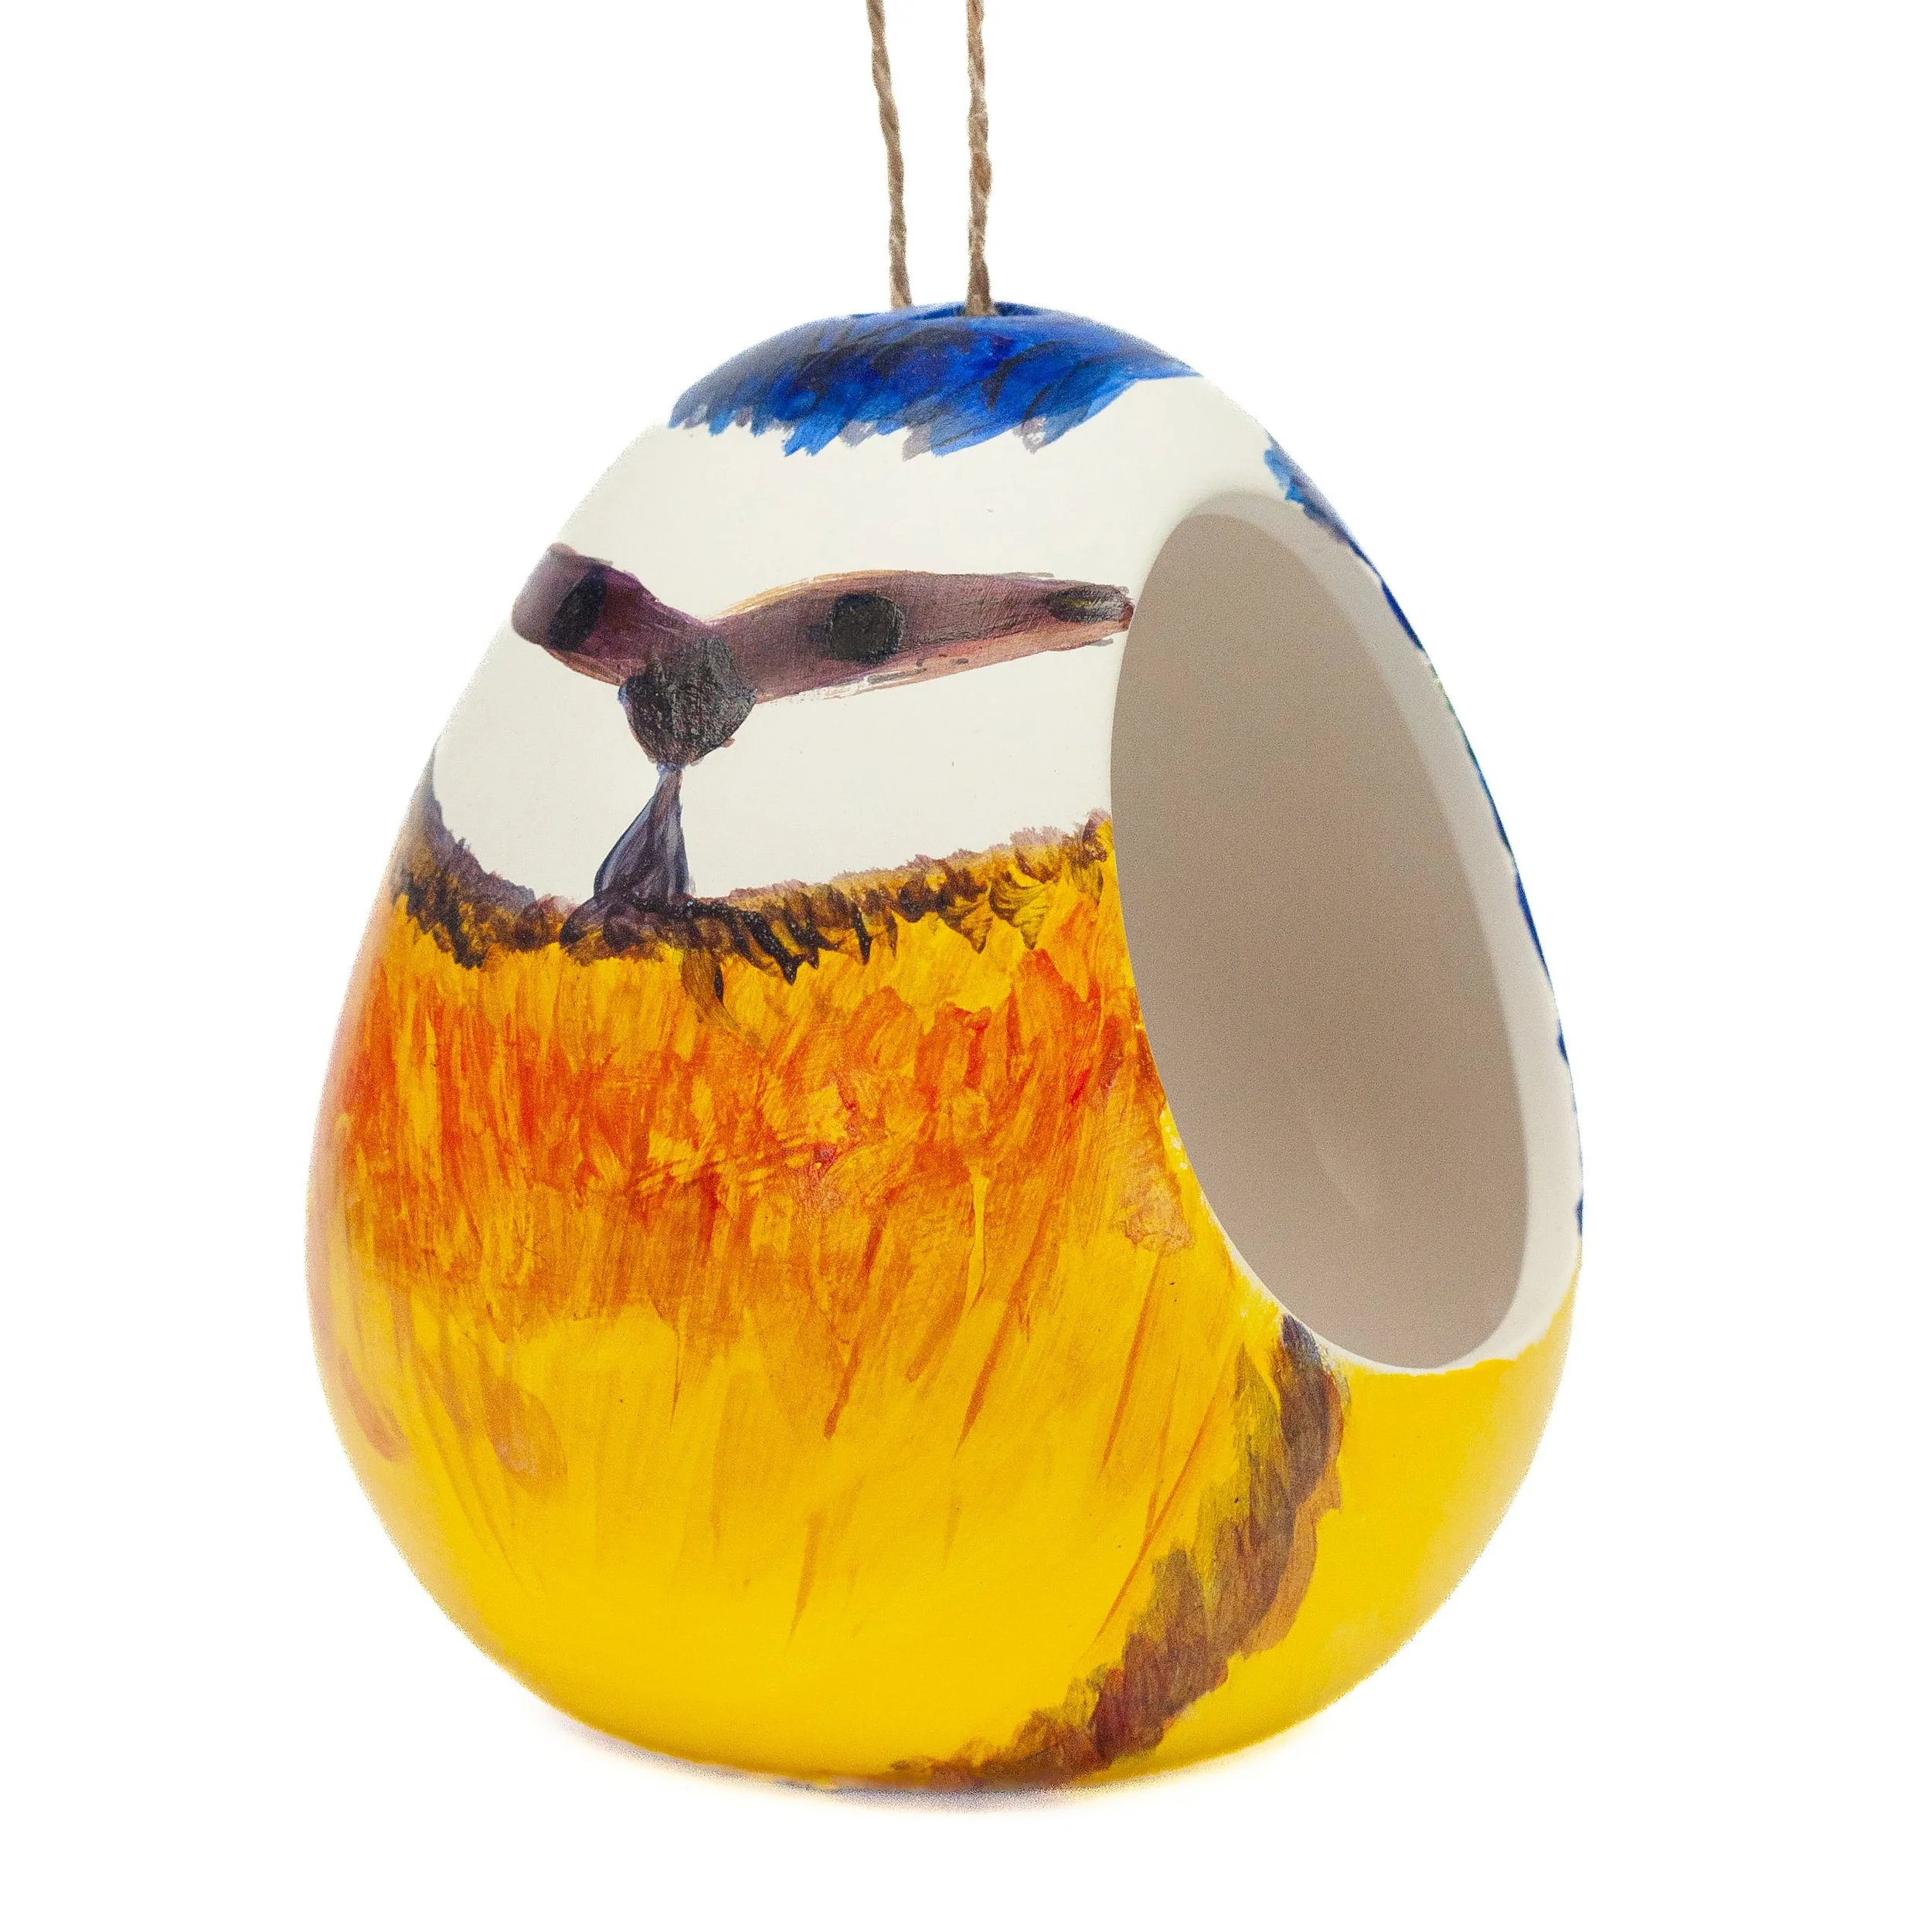
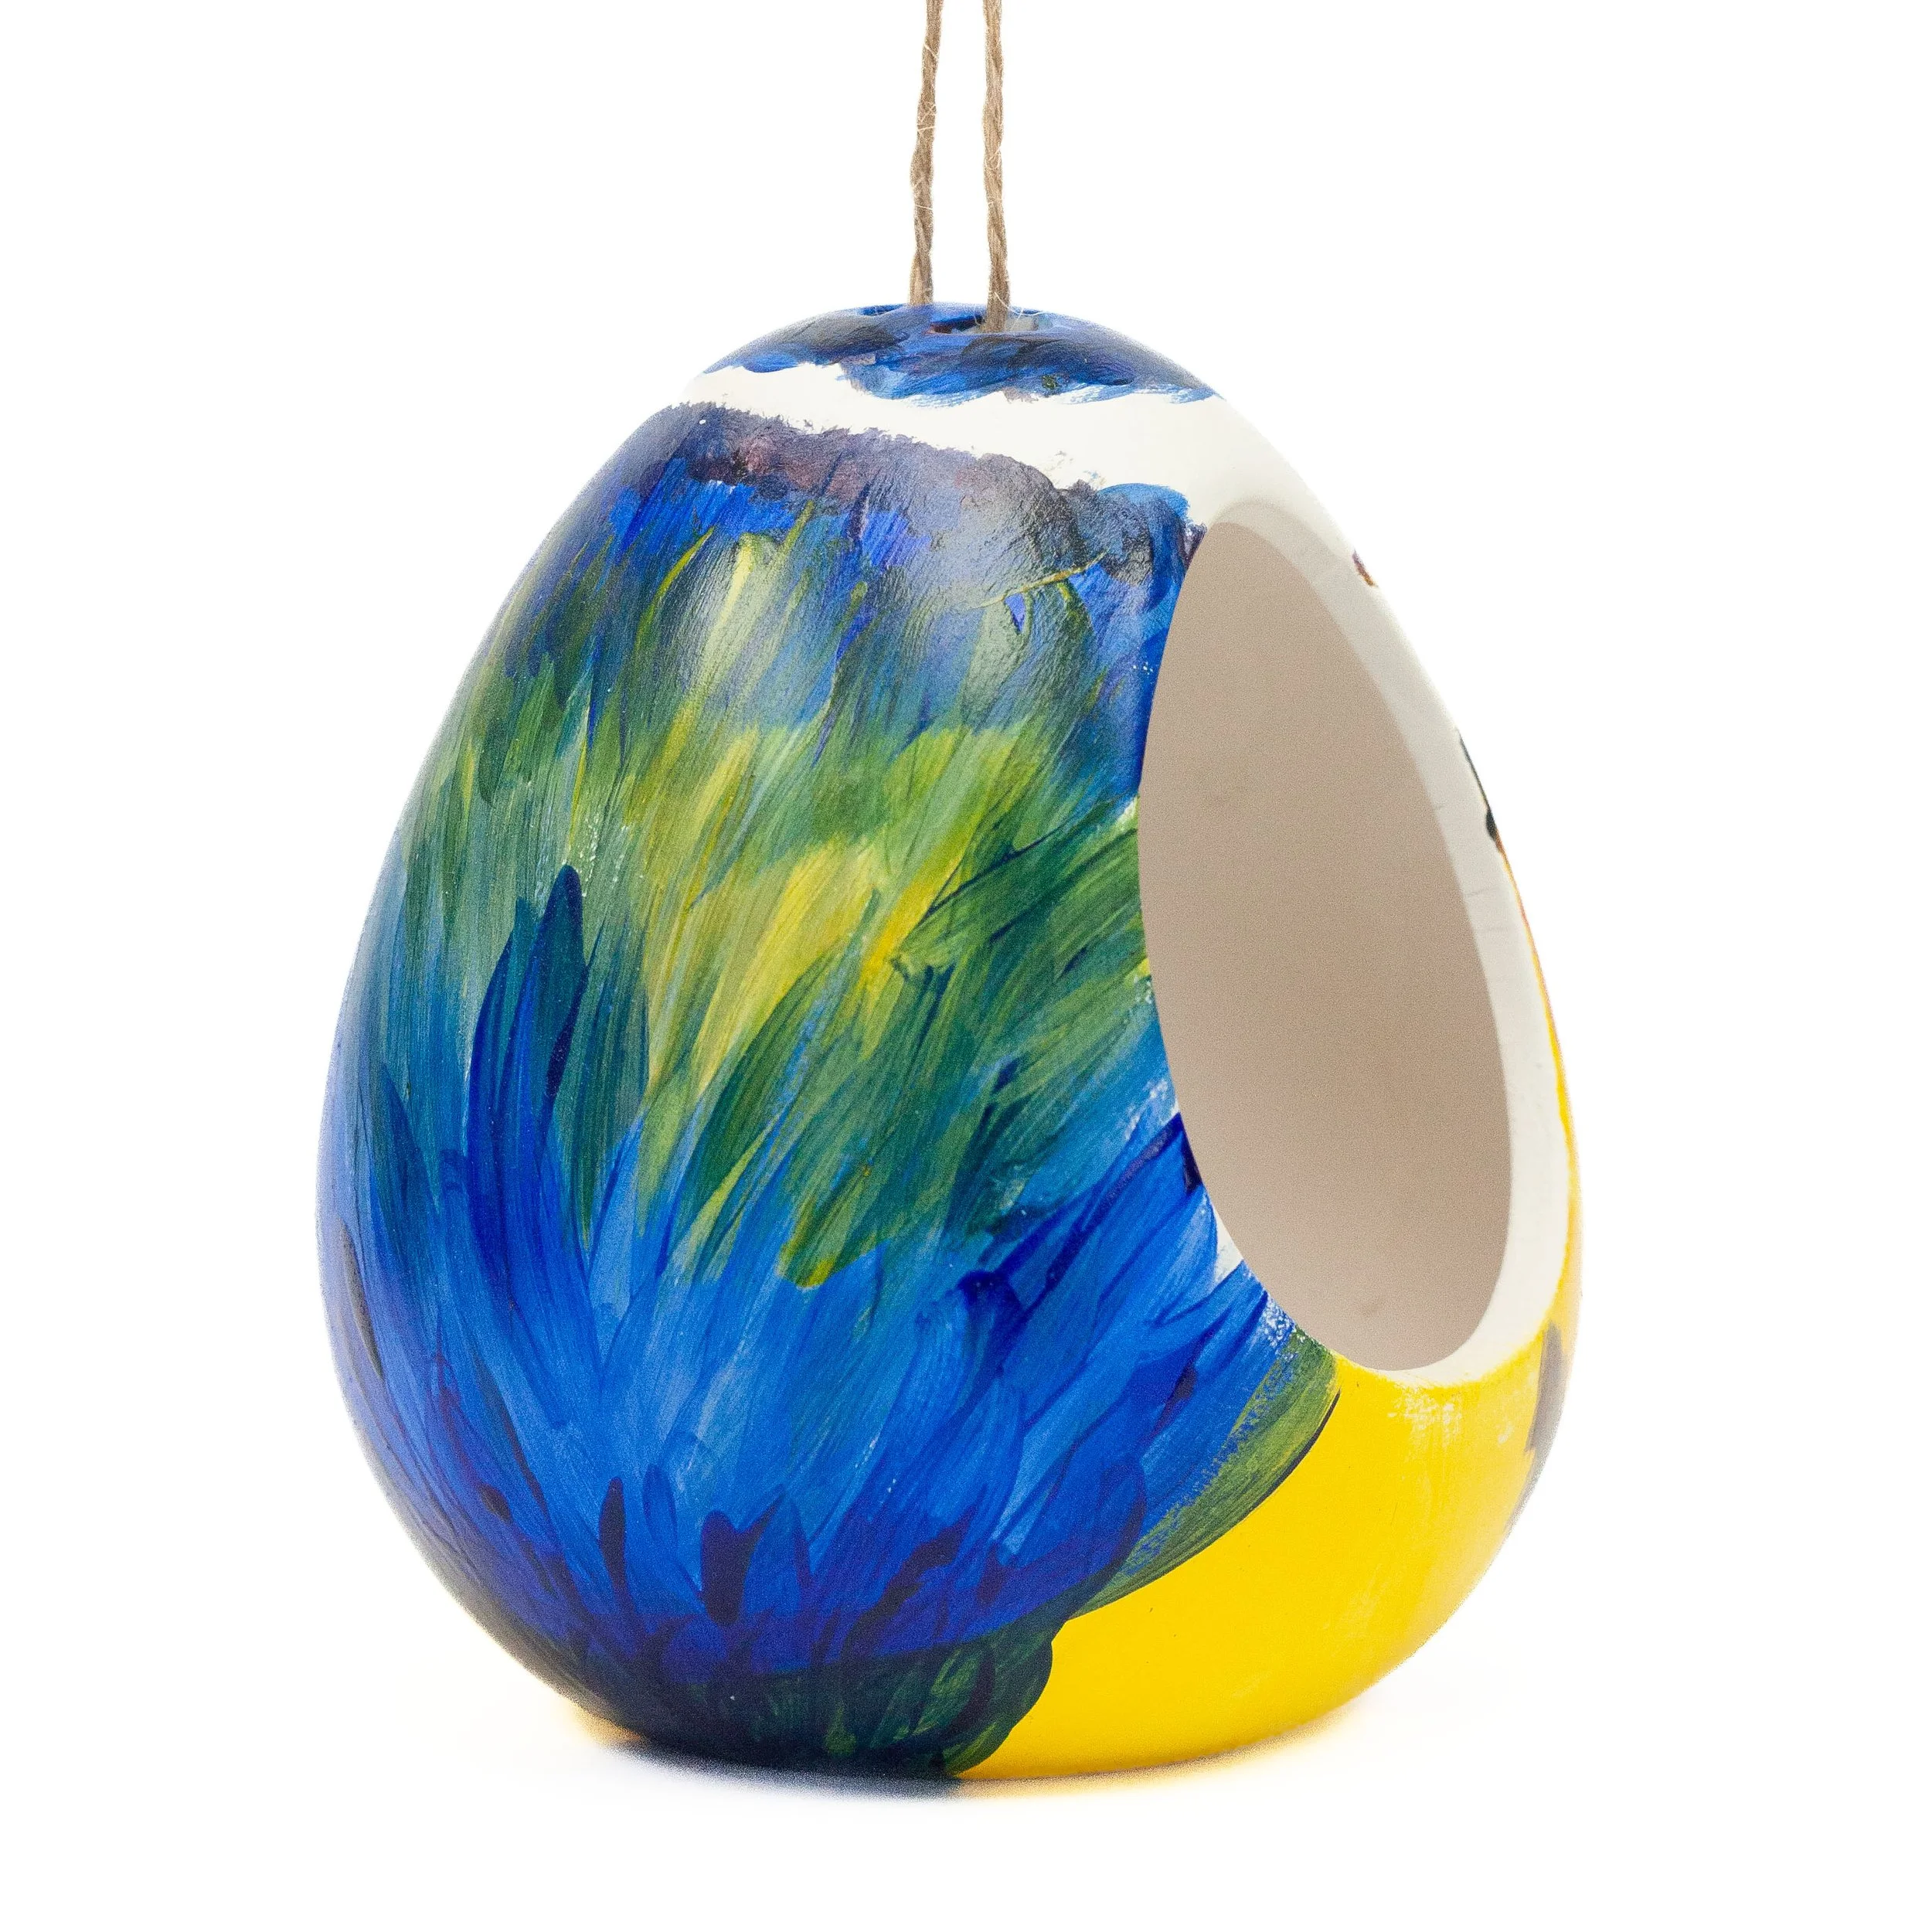
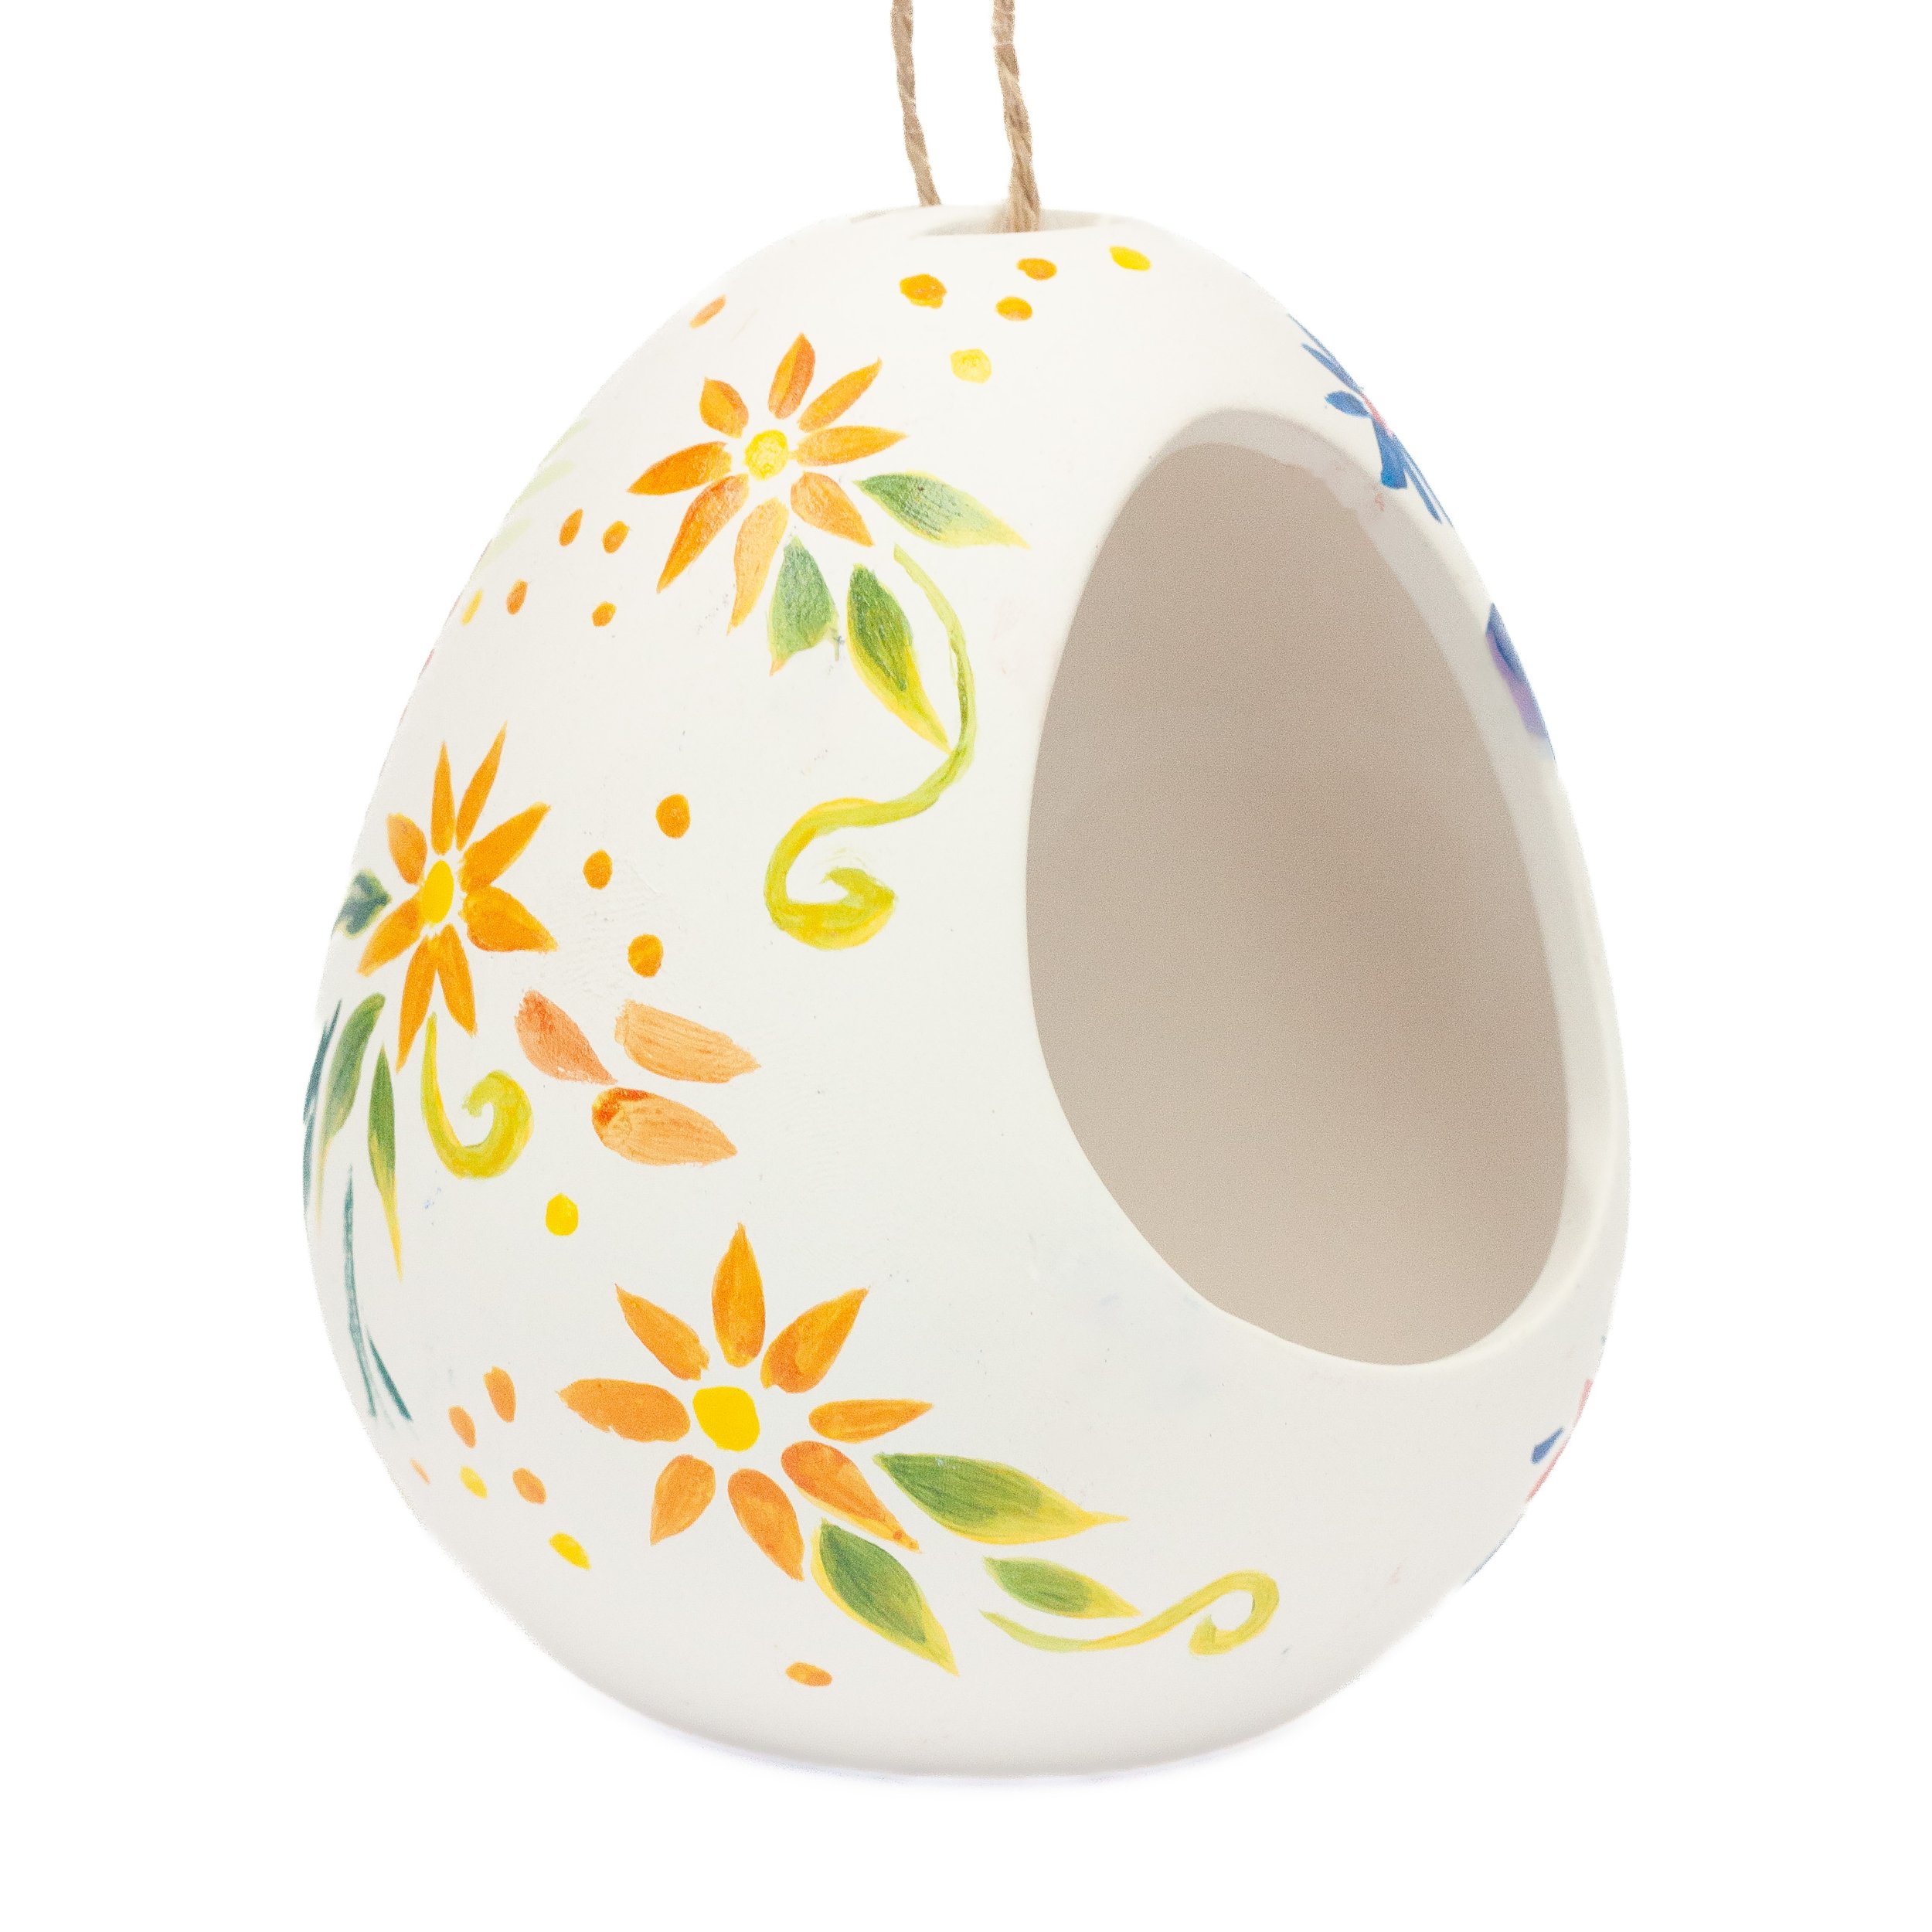
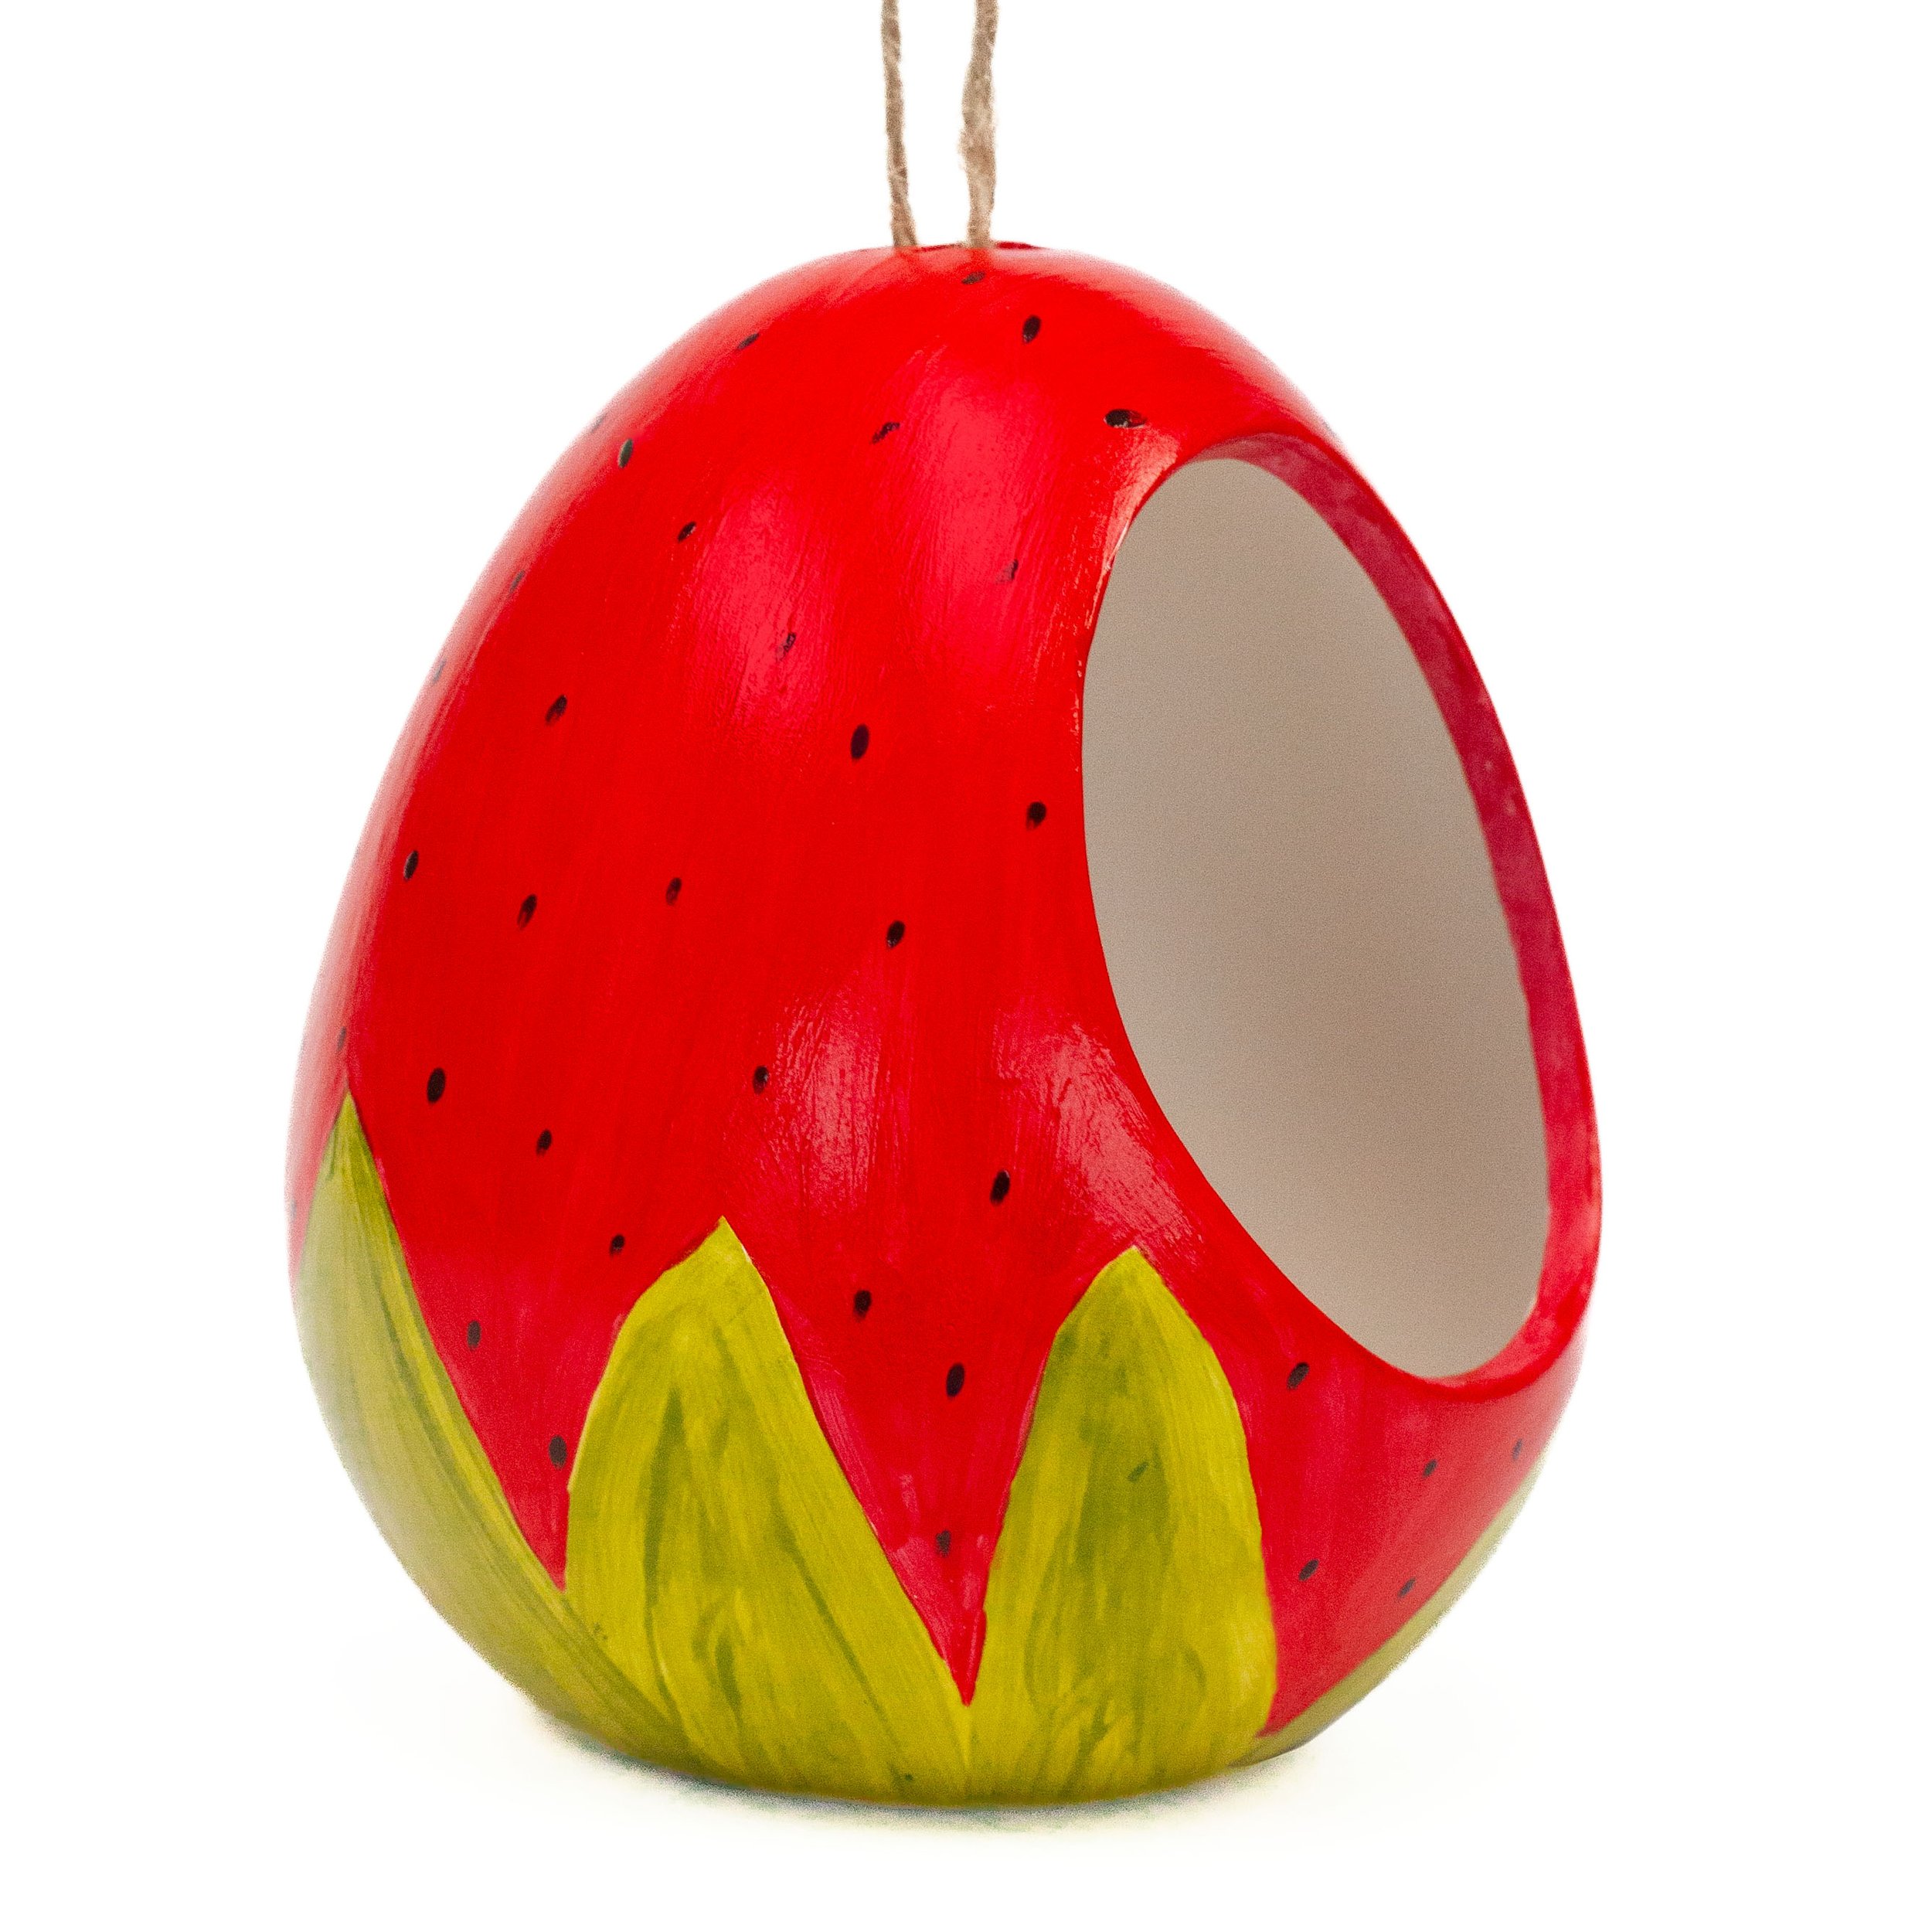
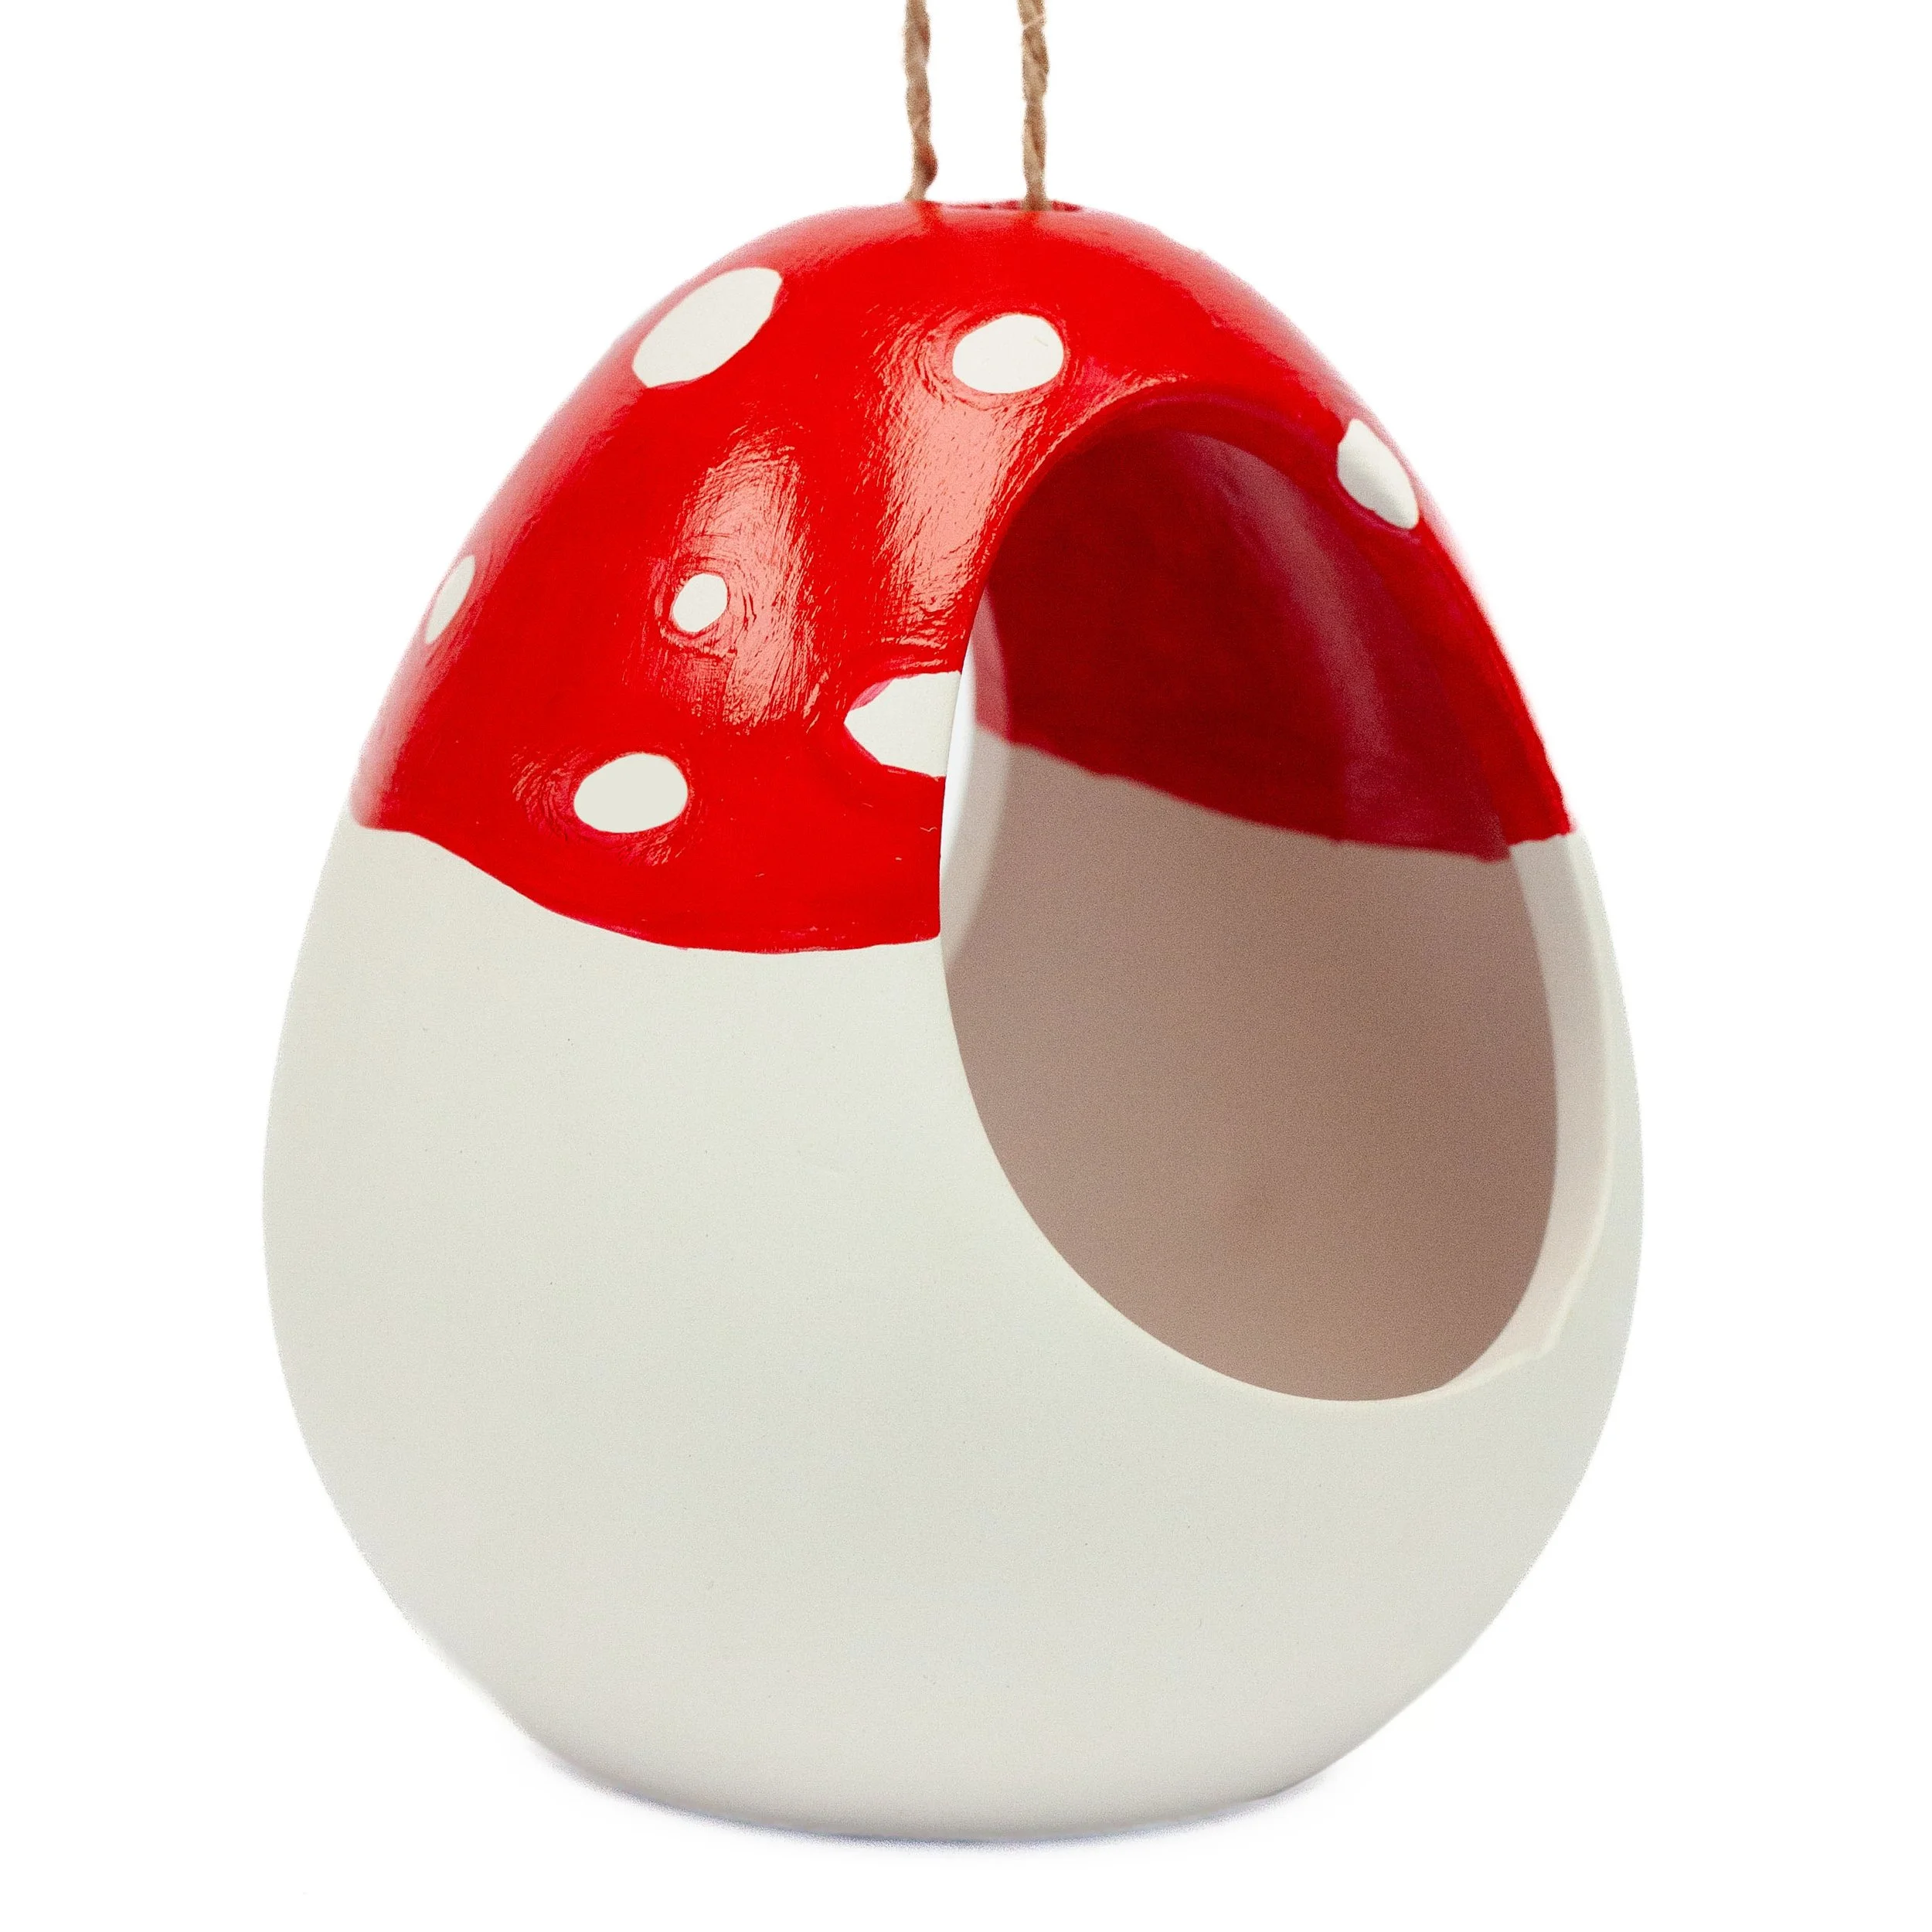
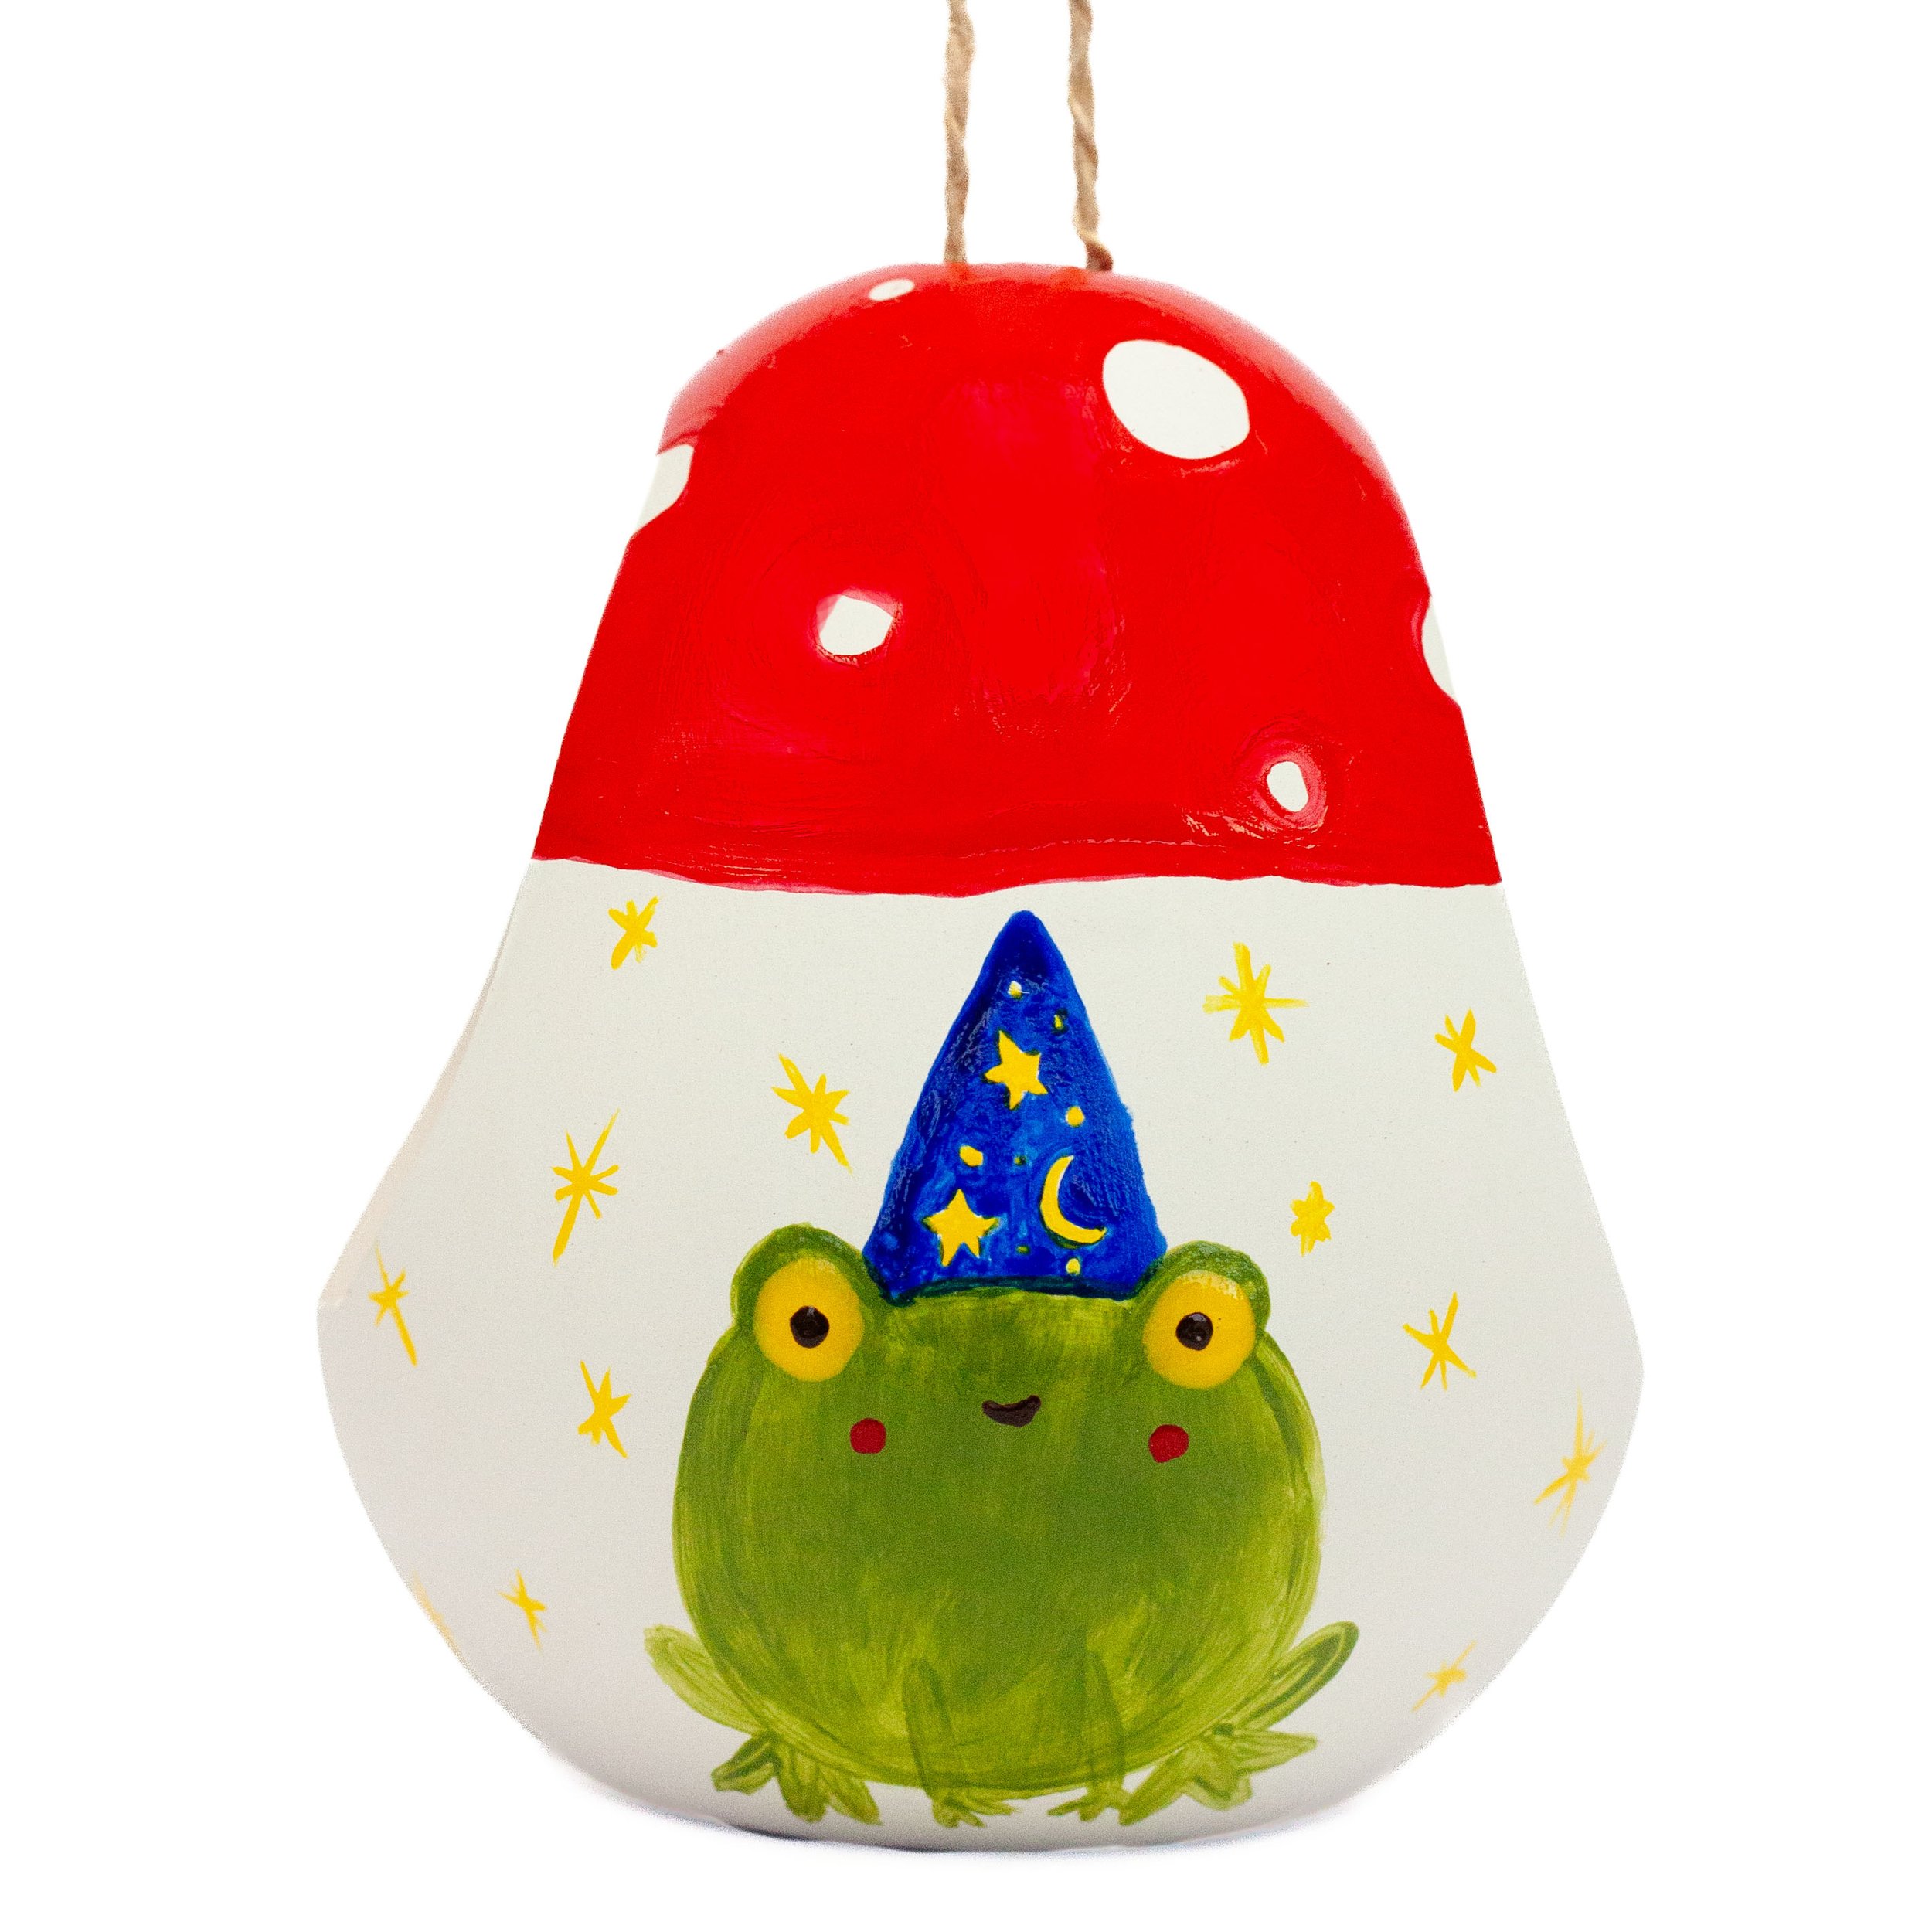
Then, check out our gallery of hand painted examples to inspire you. Hopefully you’ll find our images of examples below will spark a design you’d like to recreate in your own style, or something to inspire your very own unique masterpiece.
Finally, don’t forget to check out our top tips for where to hang your bird feeder after you’ve set the paint with a quick bake in the oven.
Are you all set?
Explore the colour wheel
Don’t forget that you can mix your paints together to create more colours! Use the colour wheel to discover what colours to mix together to create the colour of your choice!
Red, blue and yellow are primary colours. Mix these together in different combinations to make secondary colours.
The colour between two primary colours is what will be created by mixing them. Blue mixed with yellow creates green, great for grass and leafy flowers! Combine yellow and red for orange to create a tiger or even a rabbit’s tasty carrot.
As you mix colours, the exact outcome will vary depending on the proportions of each colour and the tones you start with.
To create brown, mix any primary with the colour opposite on the wheel. For example, red mixed with green will create brown. Or add a touch of blue to darken to a blacker tone for adding those finer details and outlines.
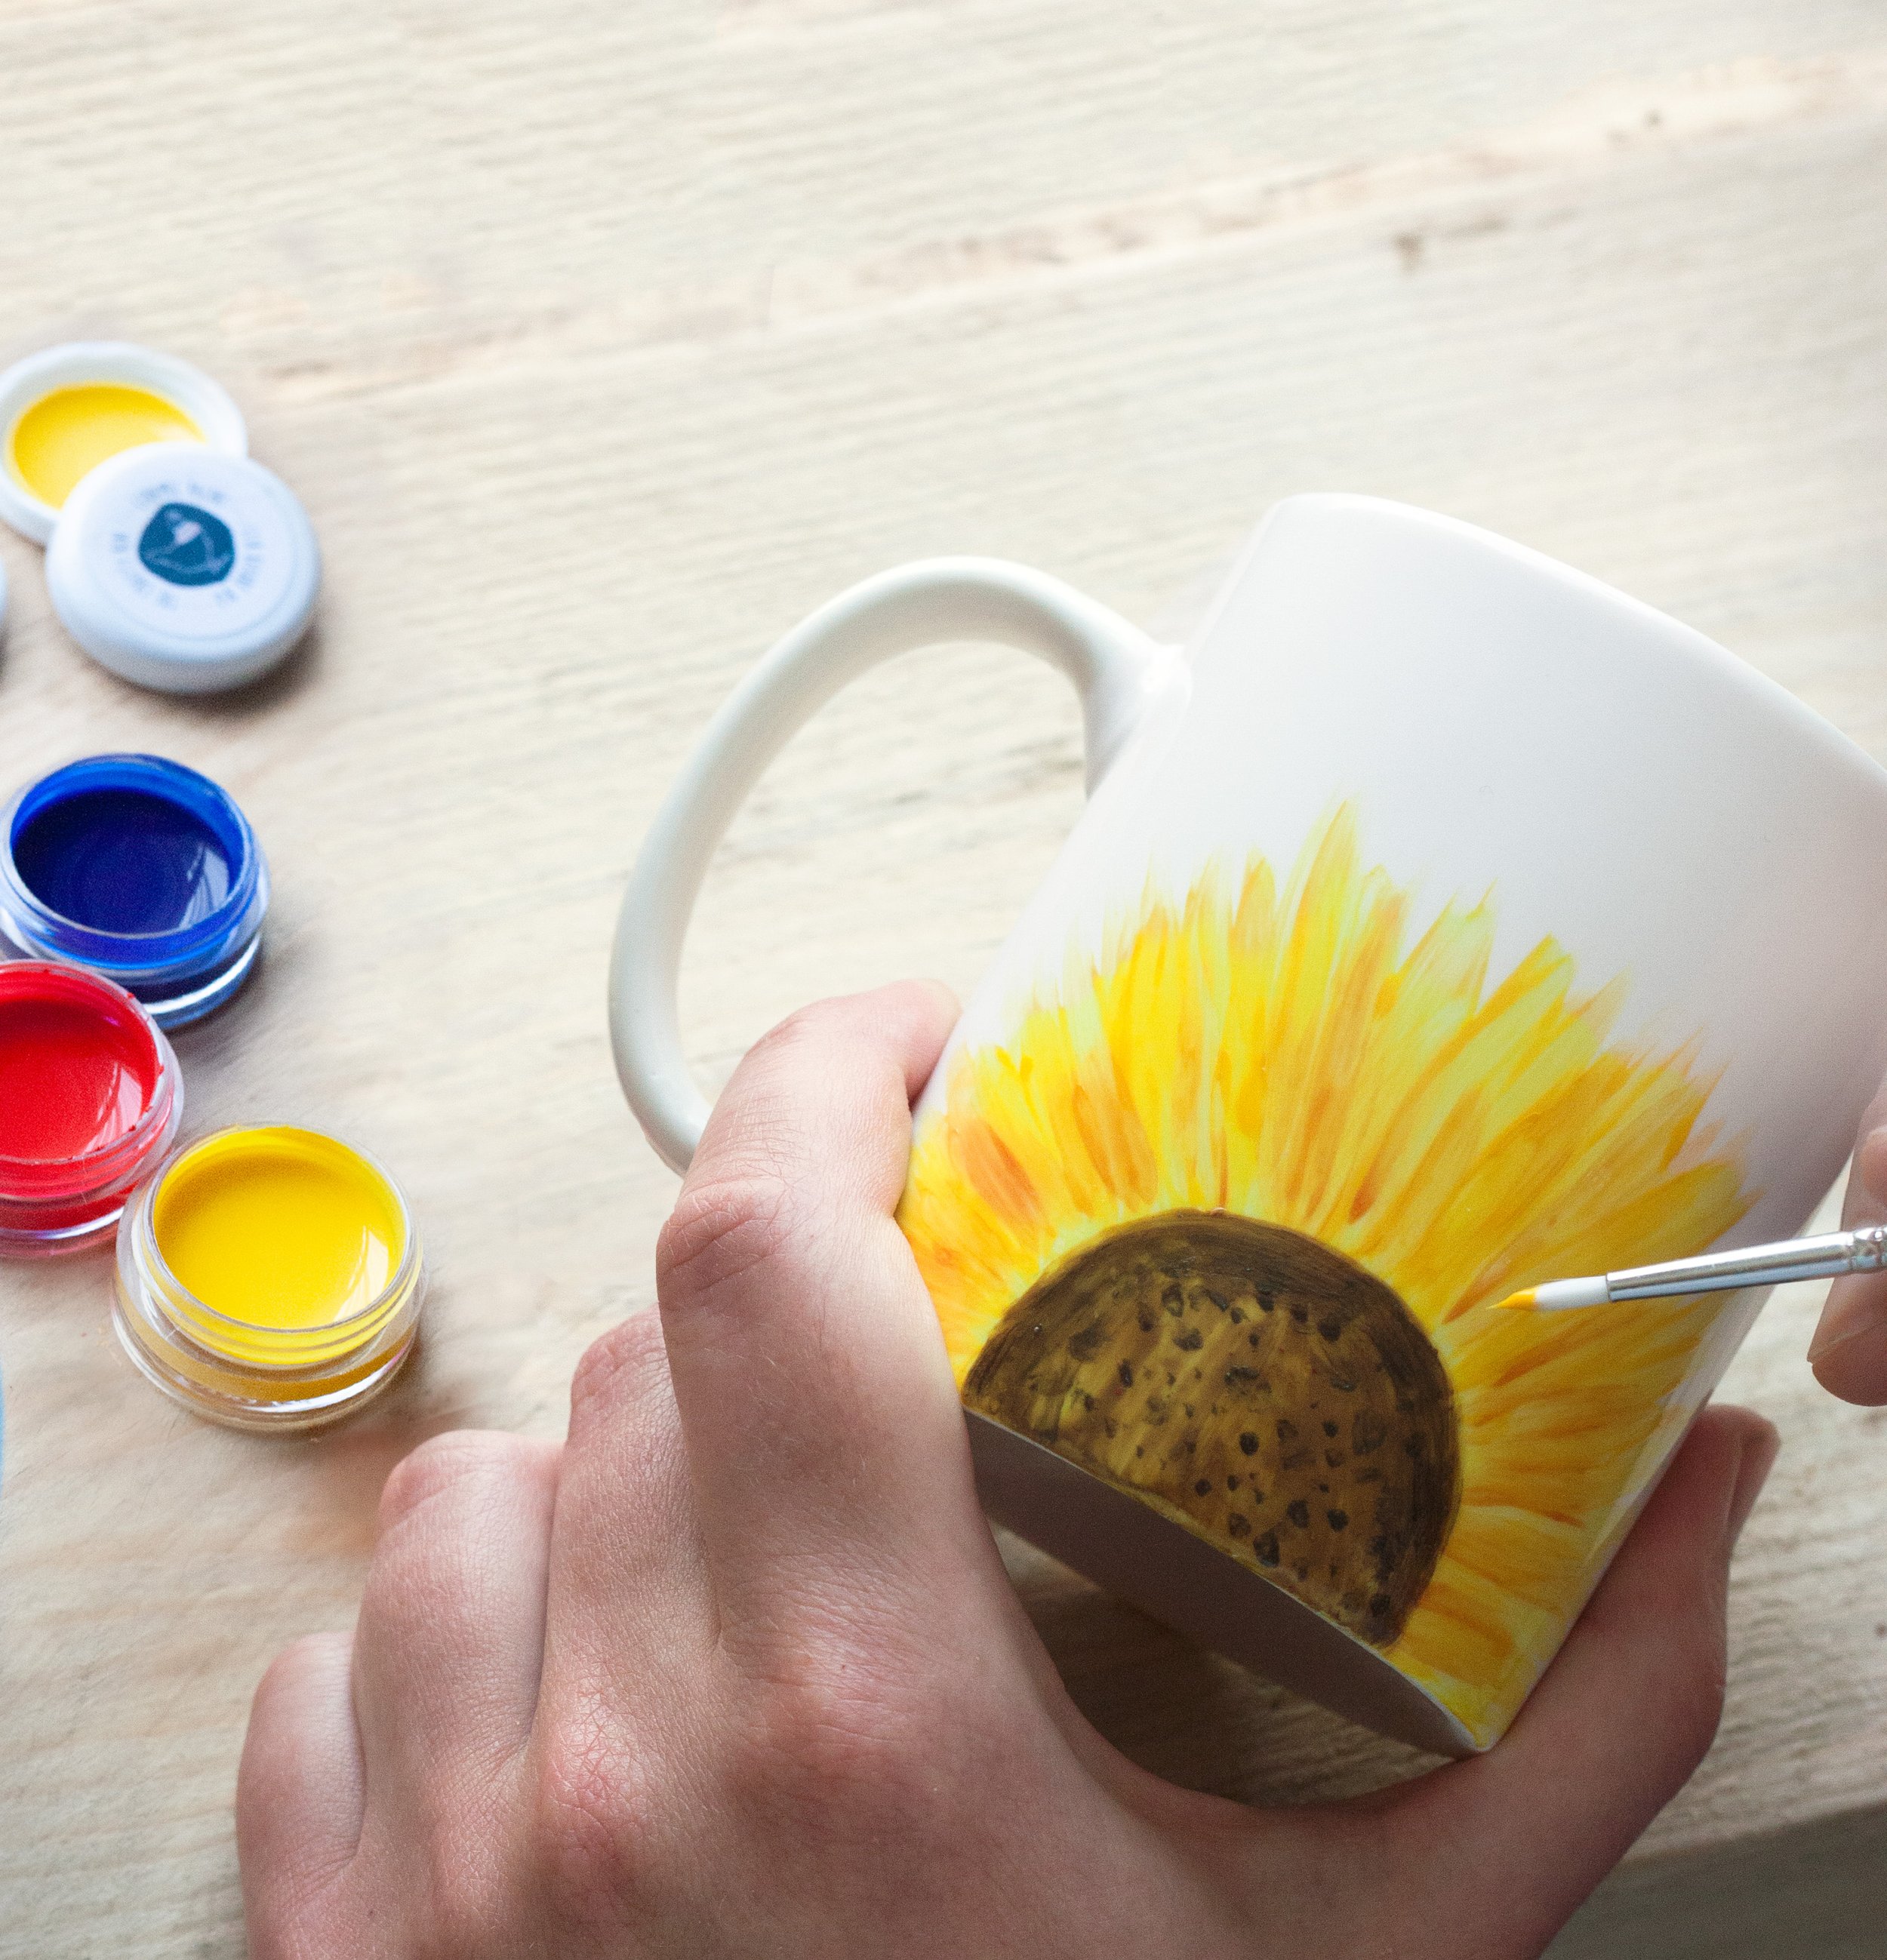
Build up bolder colours by layering paint, but patience is key! Make sure to allow layers to dry before painting over the top. And consider how colours will layer up, lighter paints like yellow won’t show up so clearly on darker tones.
Bird feeder gallery
Finding a home your bird feeder
Once your colourful bird feeder is dry, follow the instructions in your kit to bake the ceramic feeder in the over to make the paint a little more hardwearing to the elements. After this, you can hang it outside. Keep in mind the below tips to place your feeder in the best spot and make it tempting to the local birds to stop for a snack.
Bird feeders are best hung in a place where visiting birds feel safe from predators, so avoid wide open and noisy areas. Find a sheltered spot, within view from your window so you can keep an eye out on any birds stopping by!
Having a nearby tree or bush will give birds a vantage point from which to check it’s safe to dine, and quickly hide if spooked.
Don't hang your feeder anywhere that squirrels could jump to, or within a cat's reach.
Keep your feeder topped up with fresh seed and clean to encourage birds to return regularly.
Only put out as much bird food that will get eaten within a few days so it doesn’t get soggy in wet weather. Replace the seed if it does.
It may take a little while for the birds in your neighbourhood to find your new source of seeds and treats. Be patient. Keep your eyes peeled and check out the bird bingo chart included in your kit to identify and tick off your visitors as they pop by for a snack.
to win in our monthly mini craft kit giveaway
Find the T&C’s here.


