Get creative with a windowsill garden
Hello! We’re so excited that you’ve picked our lovely windowsill garden kit to add some greenery and creativity to your home.
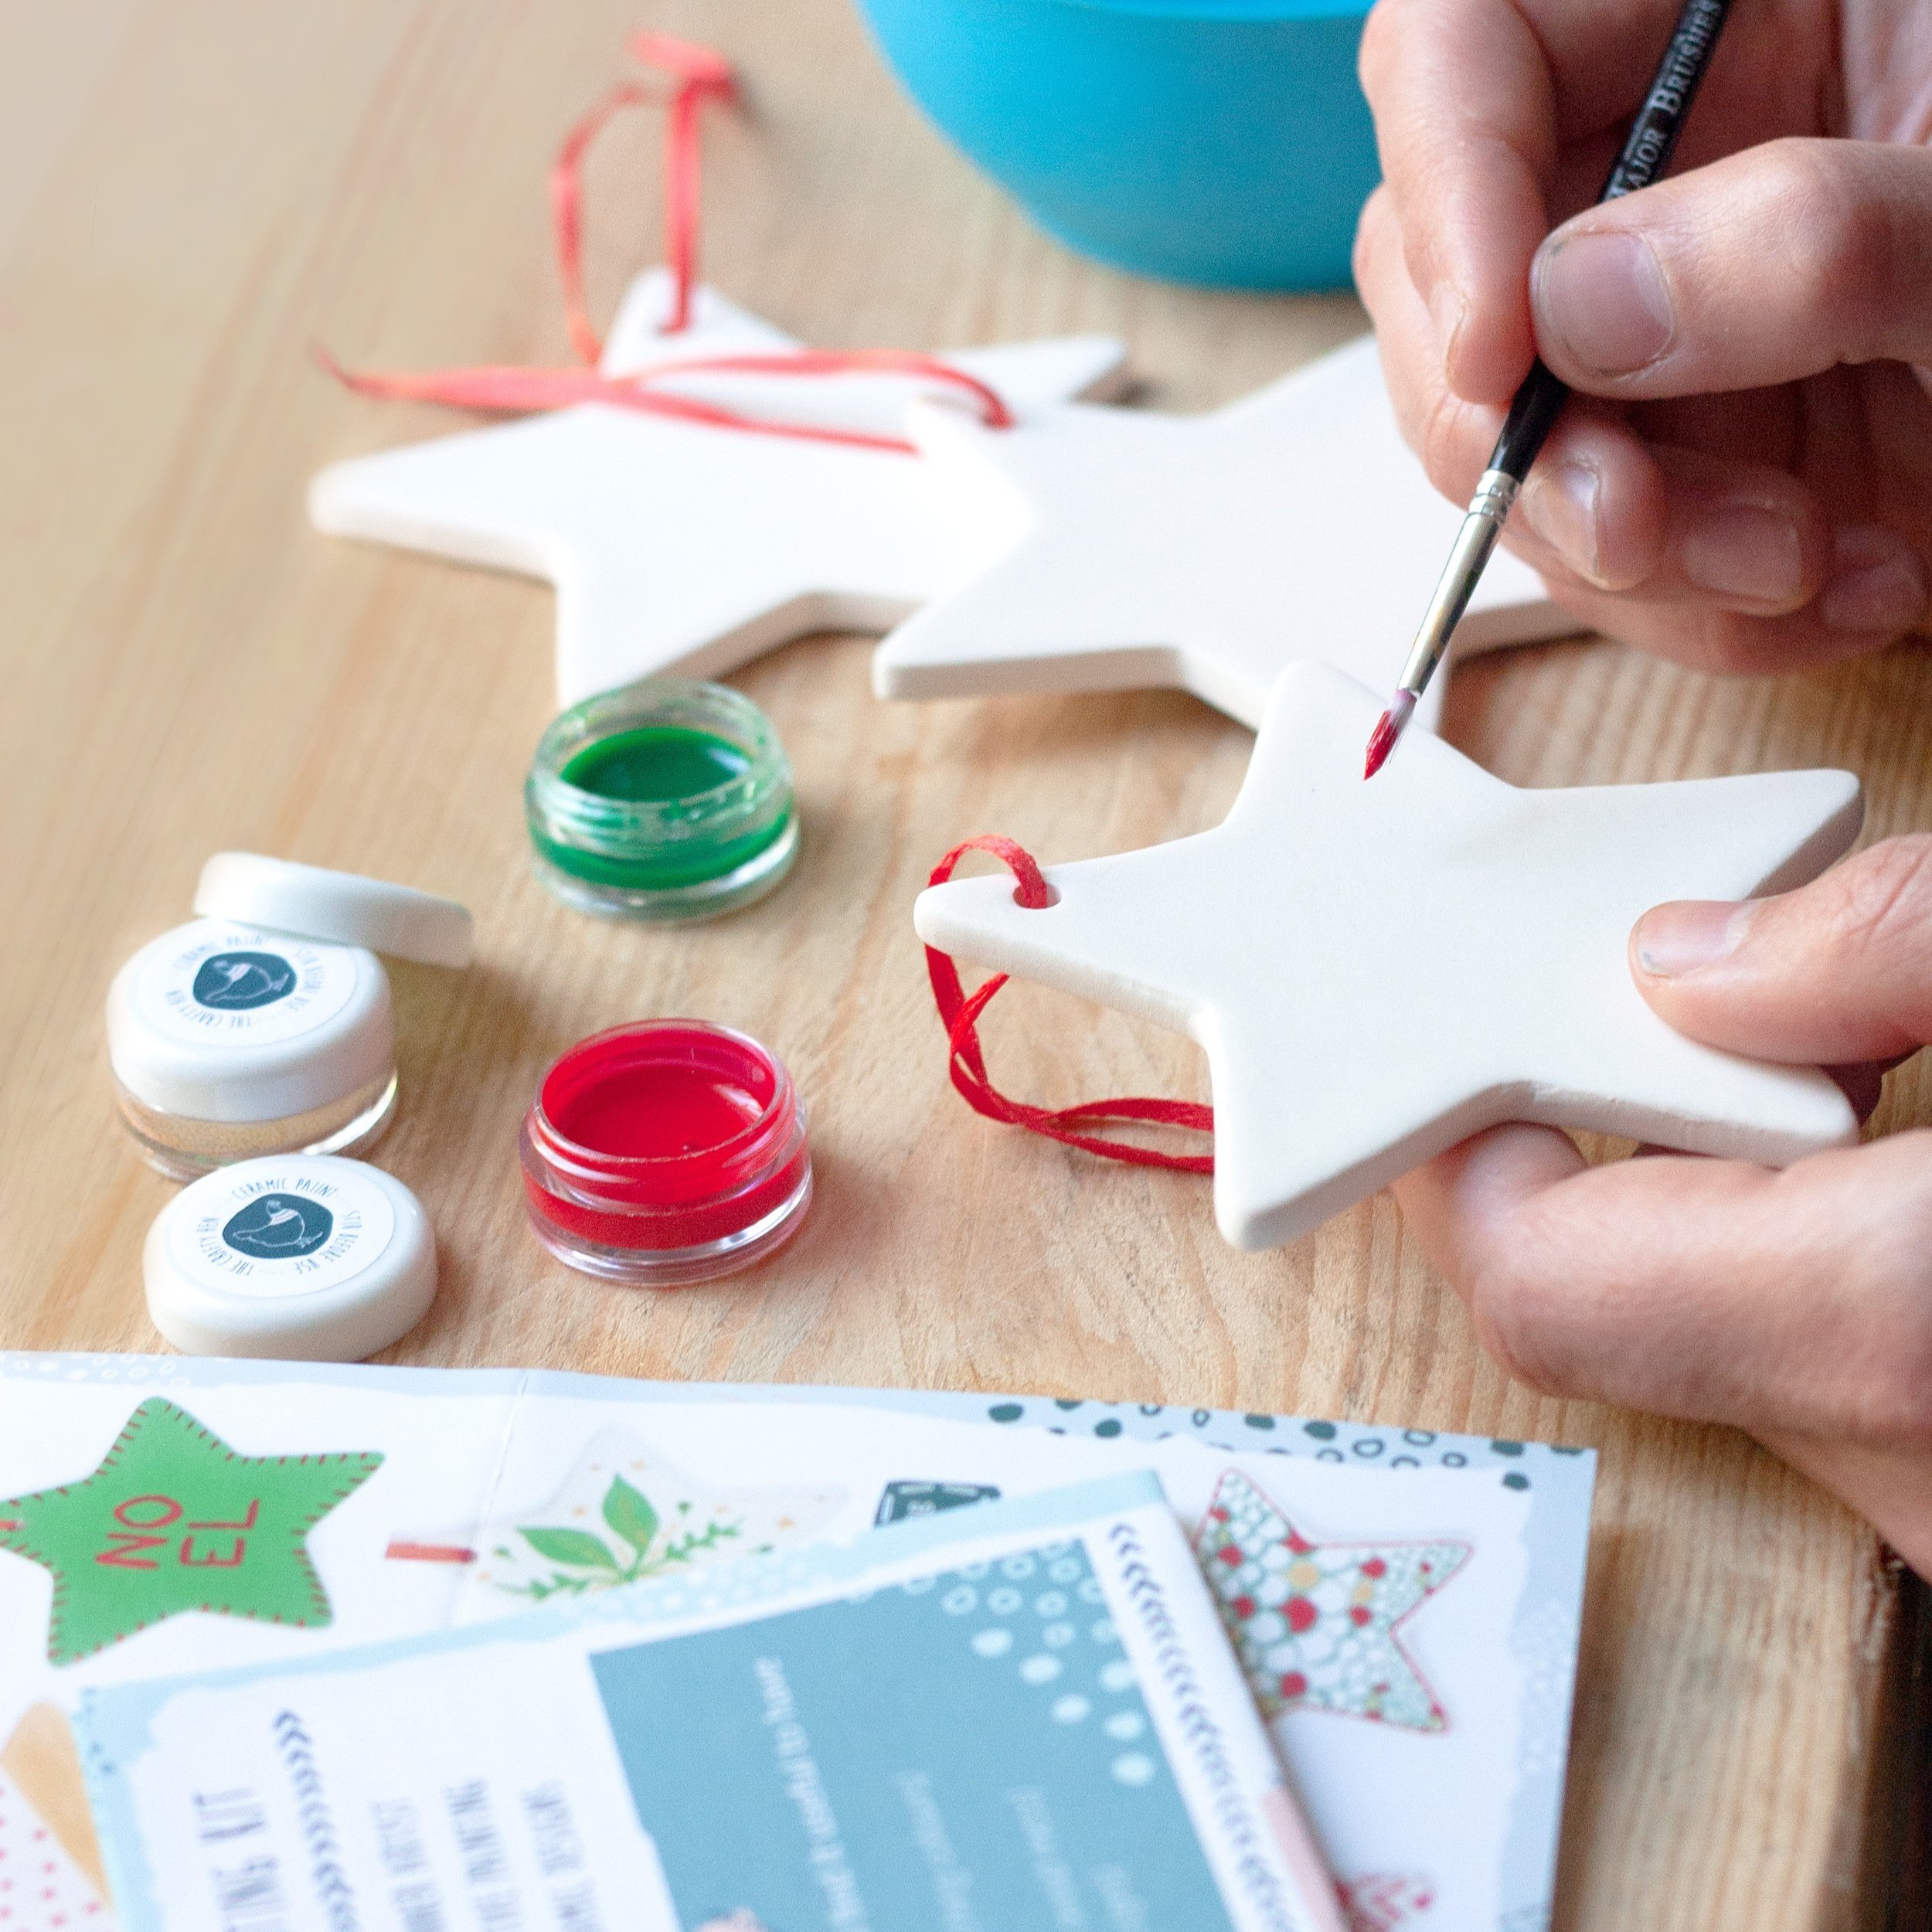
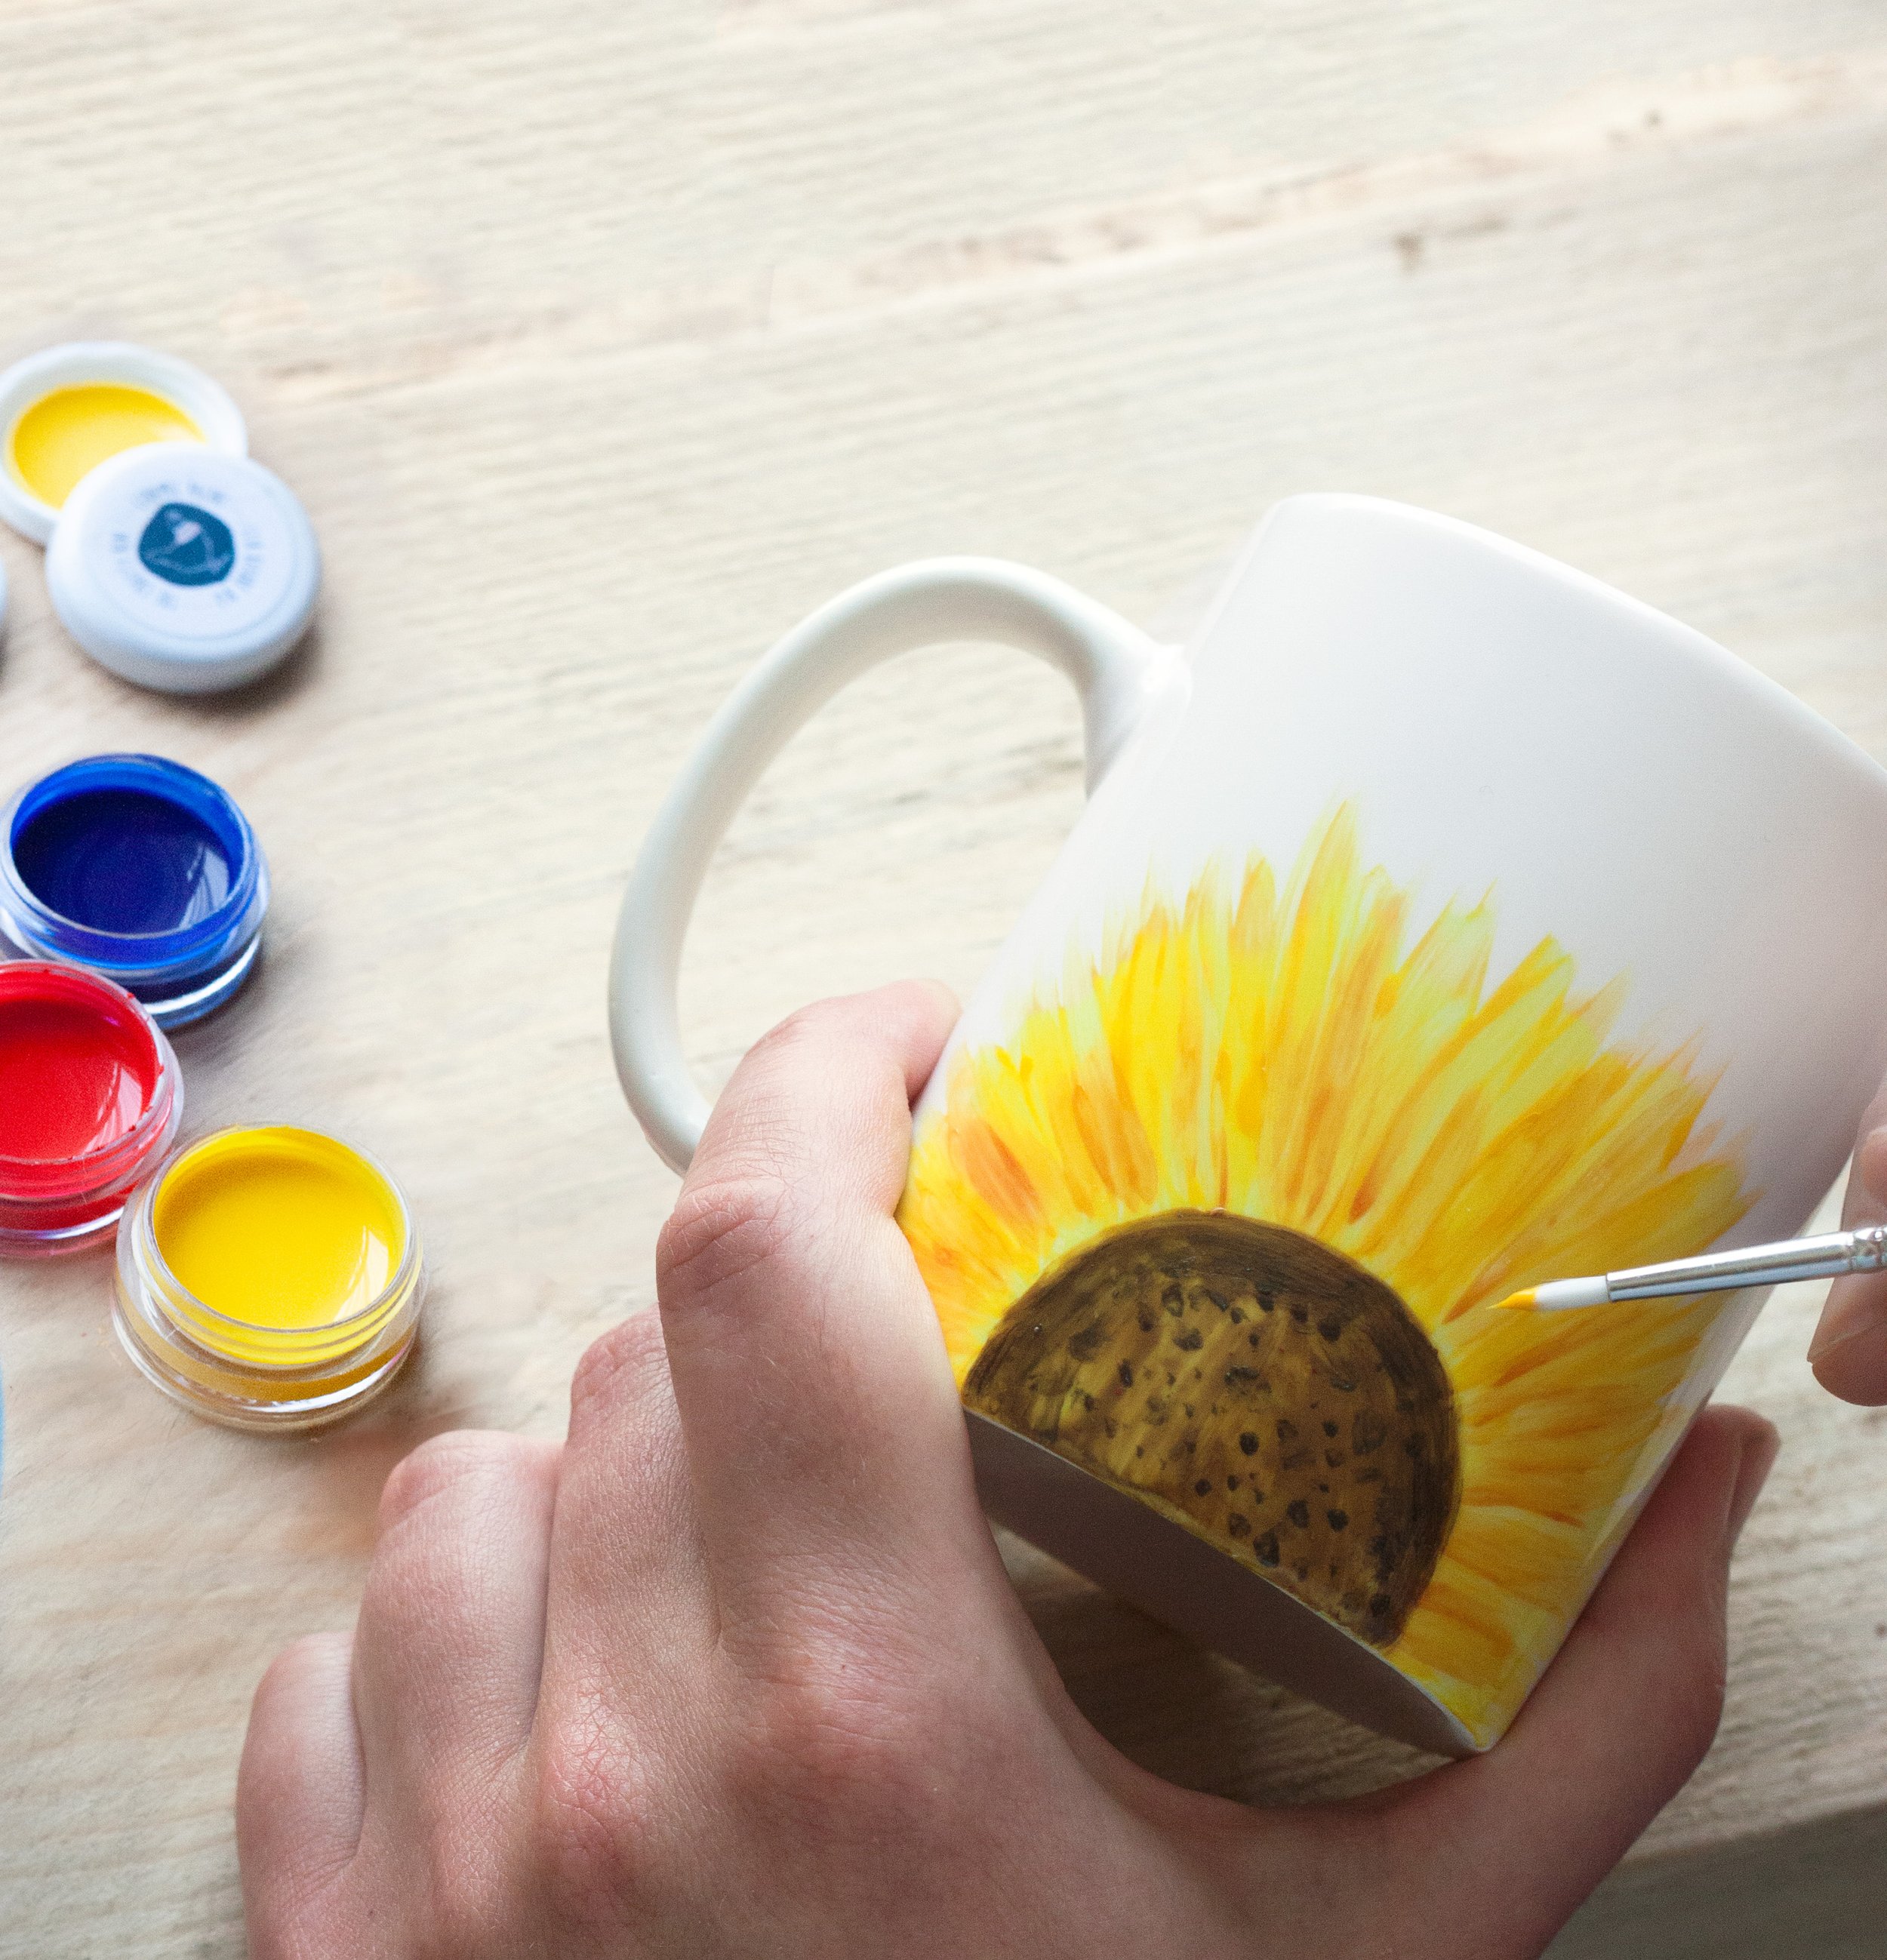
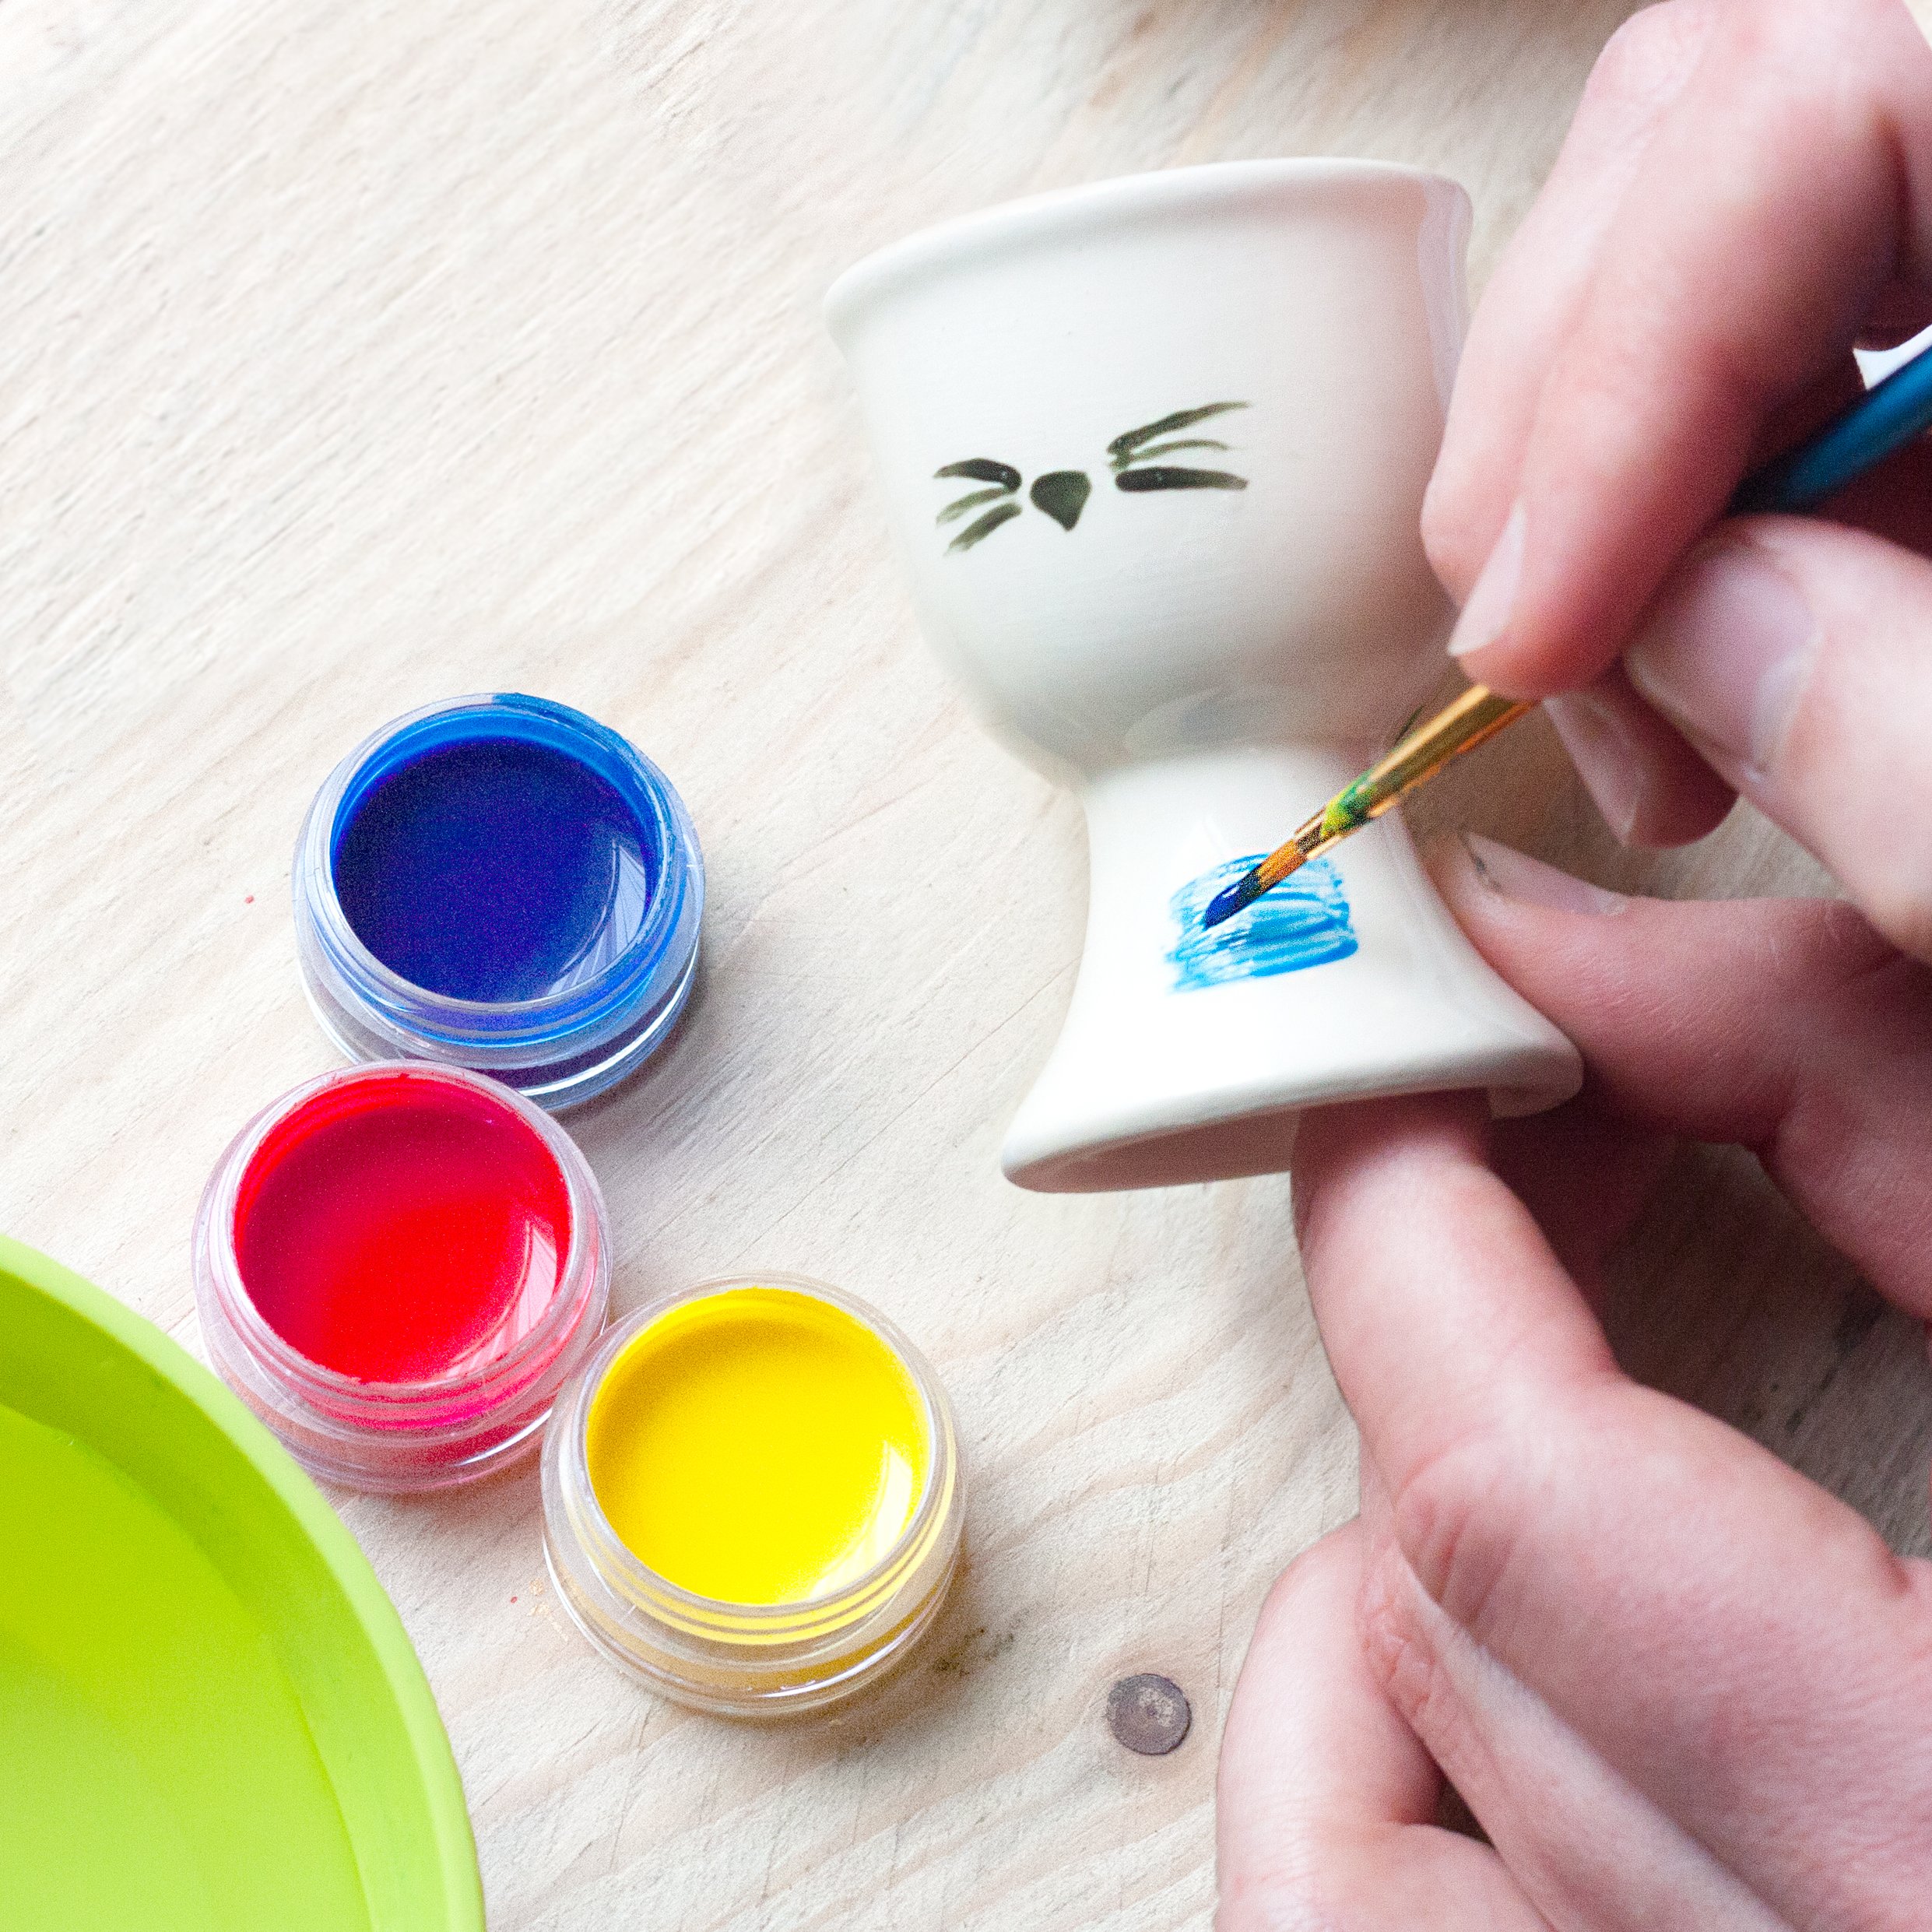
On this page, you’ll find lots of top tips for painting your mini plant pots, as well as examples to inspire your own colourful designs, or even create your own from scratch. Deciding what to paint is the hardest part!
Before you start, give your pots a wash with soapy warm water to ensure it’s nice and clean. Minimise handling your ceramics as much as you can, oils on your skin can reduce the paint’s ability to adhere. Once your plant pot masterpieces are dry, you’ll be ready to start planting your seeds! Tips and advice for sowing your seeds can be found here.
When you’re finished, tag and share the results of your creative handiwork with us so we can marvel at your colourful creations and join you as you watch your veggies grow!
Colour wheel
Don’t forget that you can mix your paints together to create more colours! Use the colour wheel to discover what colours to mix together to create the colour of your choice!
Red, blue and yellow are primary colours. Mix these together in different combinations to make secondary colours.
The colour between two primary colours is what will be created by mixing them. Blue mixed with yellow creates green, great for grass and leafy foliage! Combine yellow and red for orange.
As you mix colours, the exact outcome will vary depending on the proportions of each colour and the tones you start with.
To create brown, mix any primary with the colour opposite on the wheel. For example, red mixed with green will create brown. Or add a touch of blue to darken to a blacker tone for adding those finer details and outlines.
Build up bolder colours by layering paint, but patience is key! Make sure to allow layers to dry before painting over the top. And consider how colours will layer up, lighter paints like yellow won’t show up so clearly on darker tones.
Plant pot Designs & Inspiration
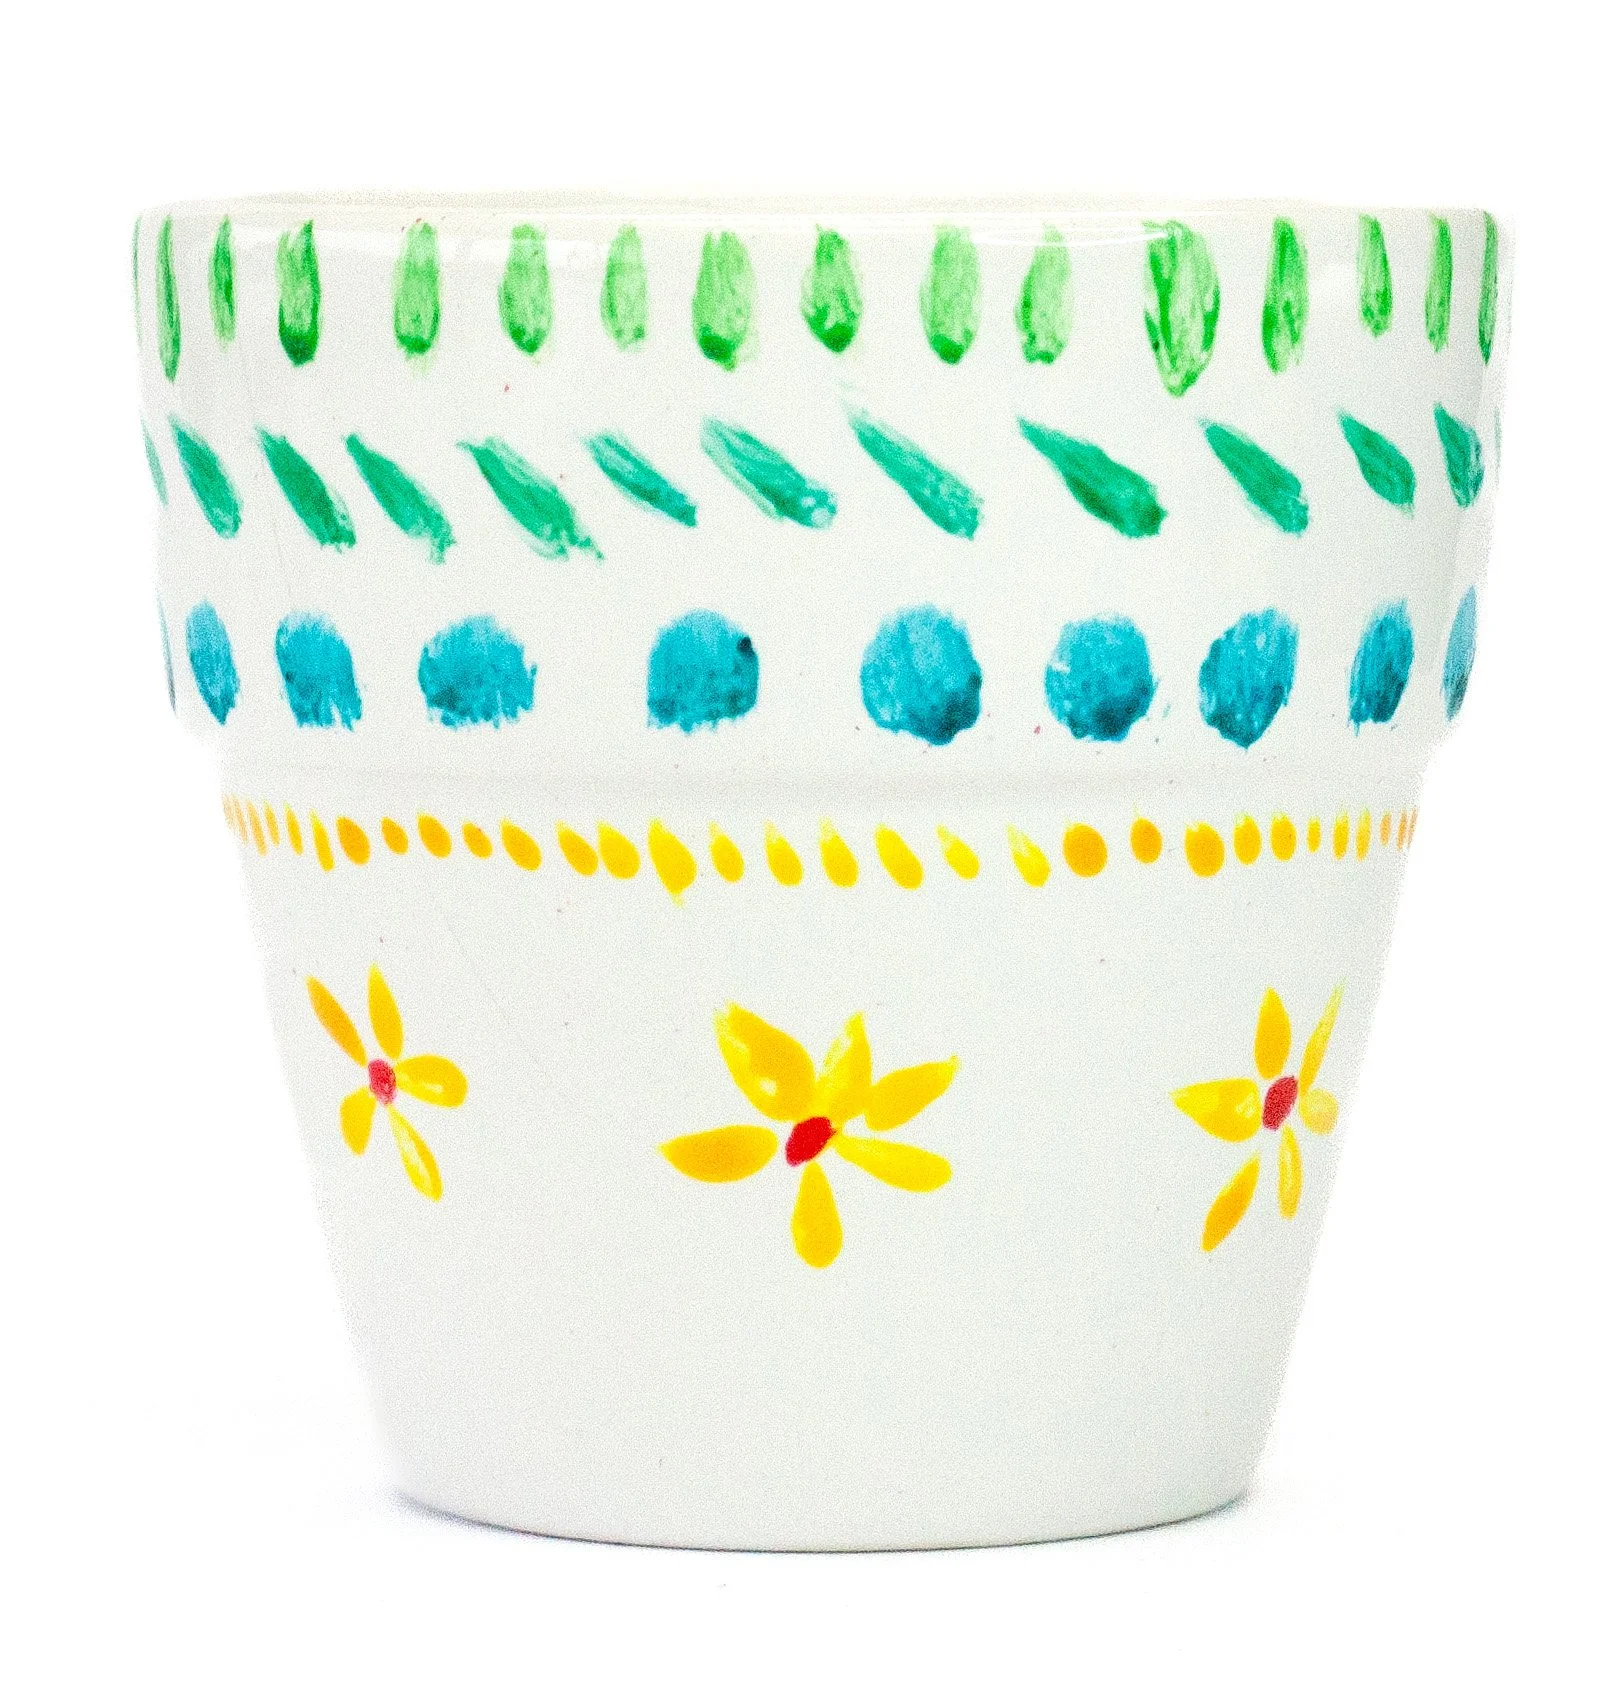
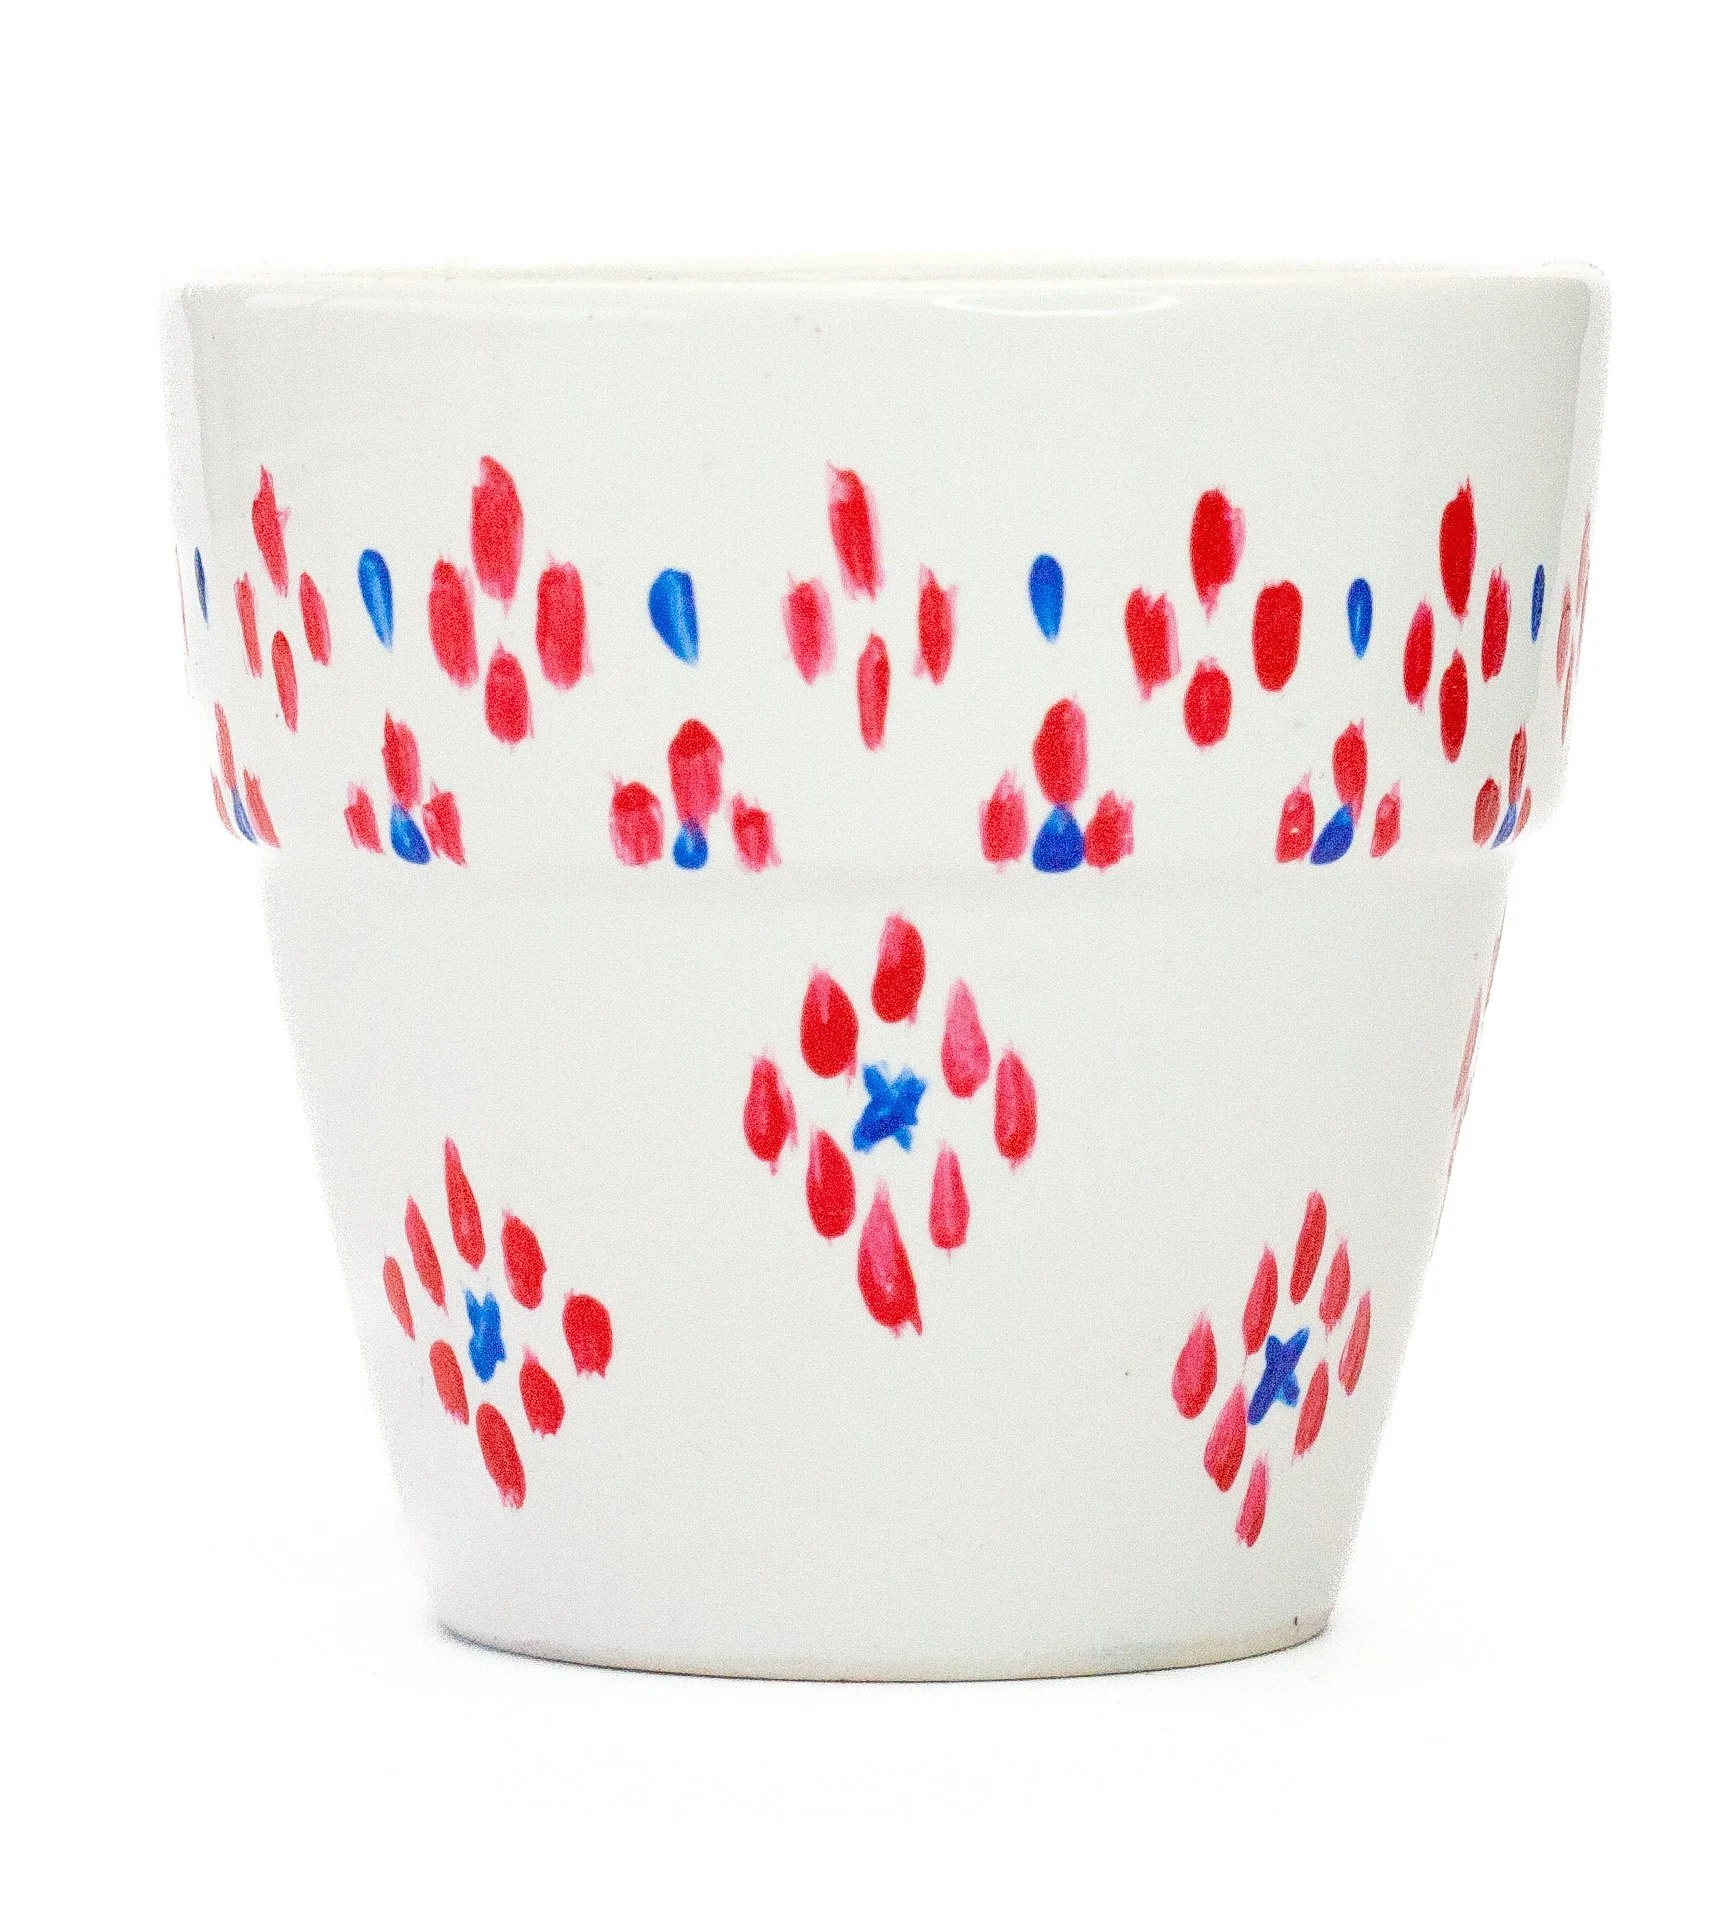
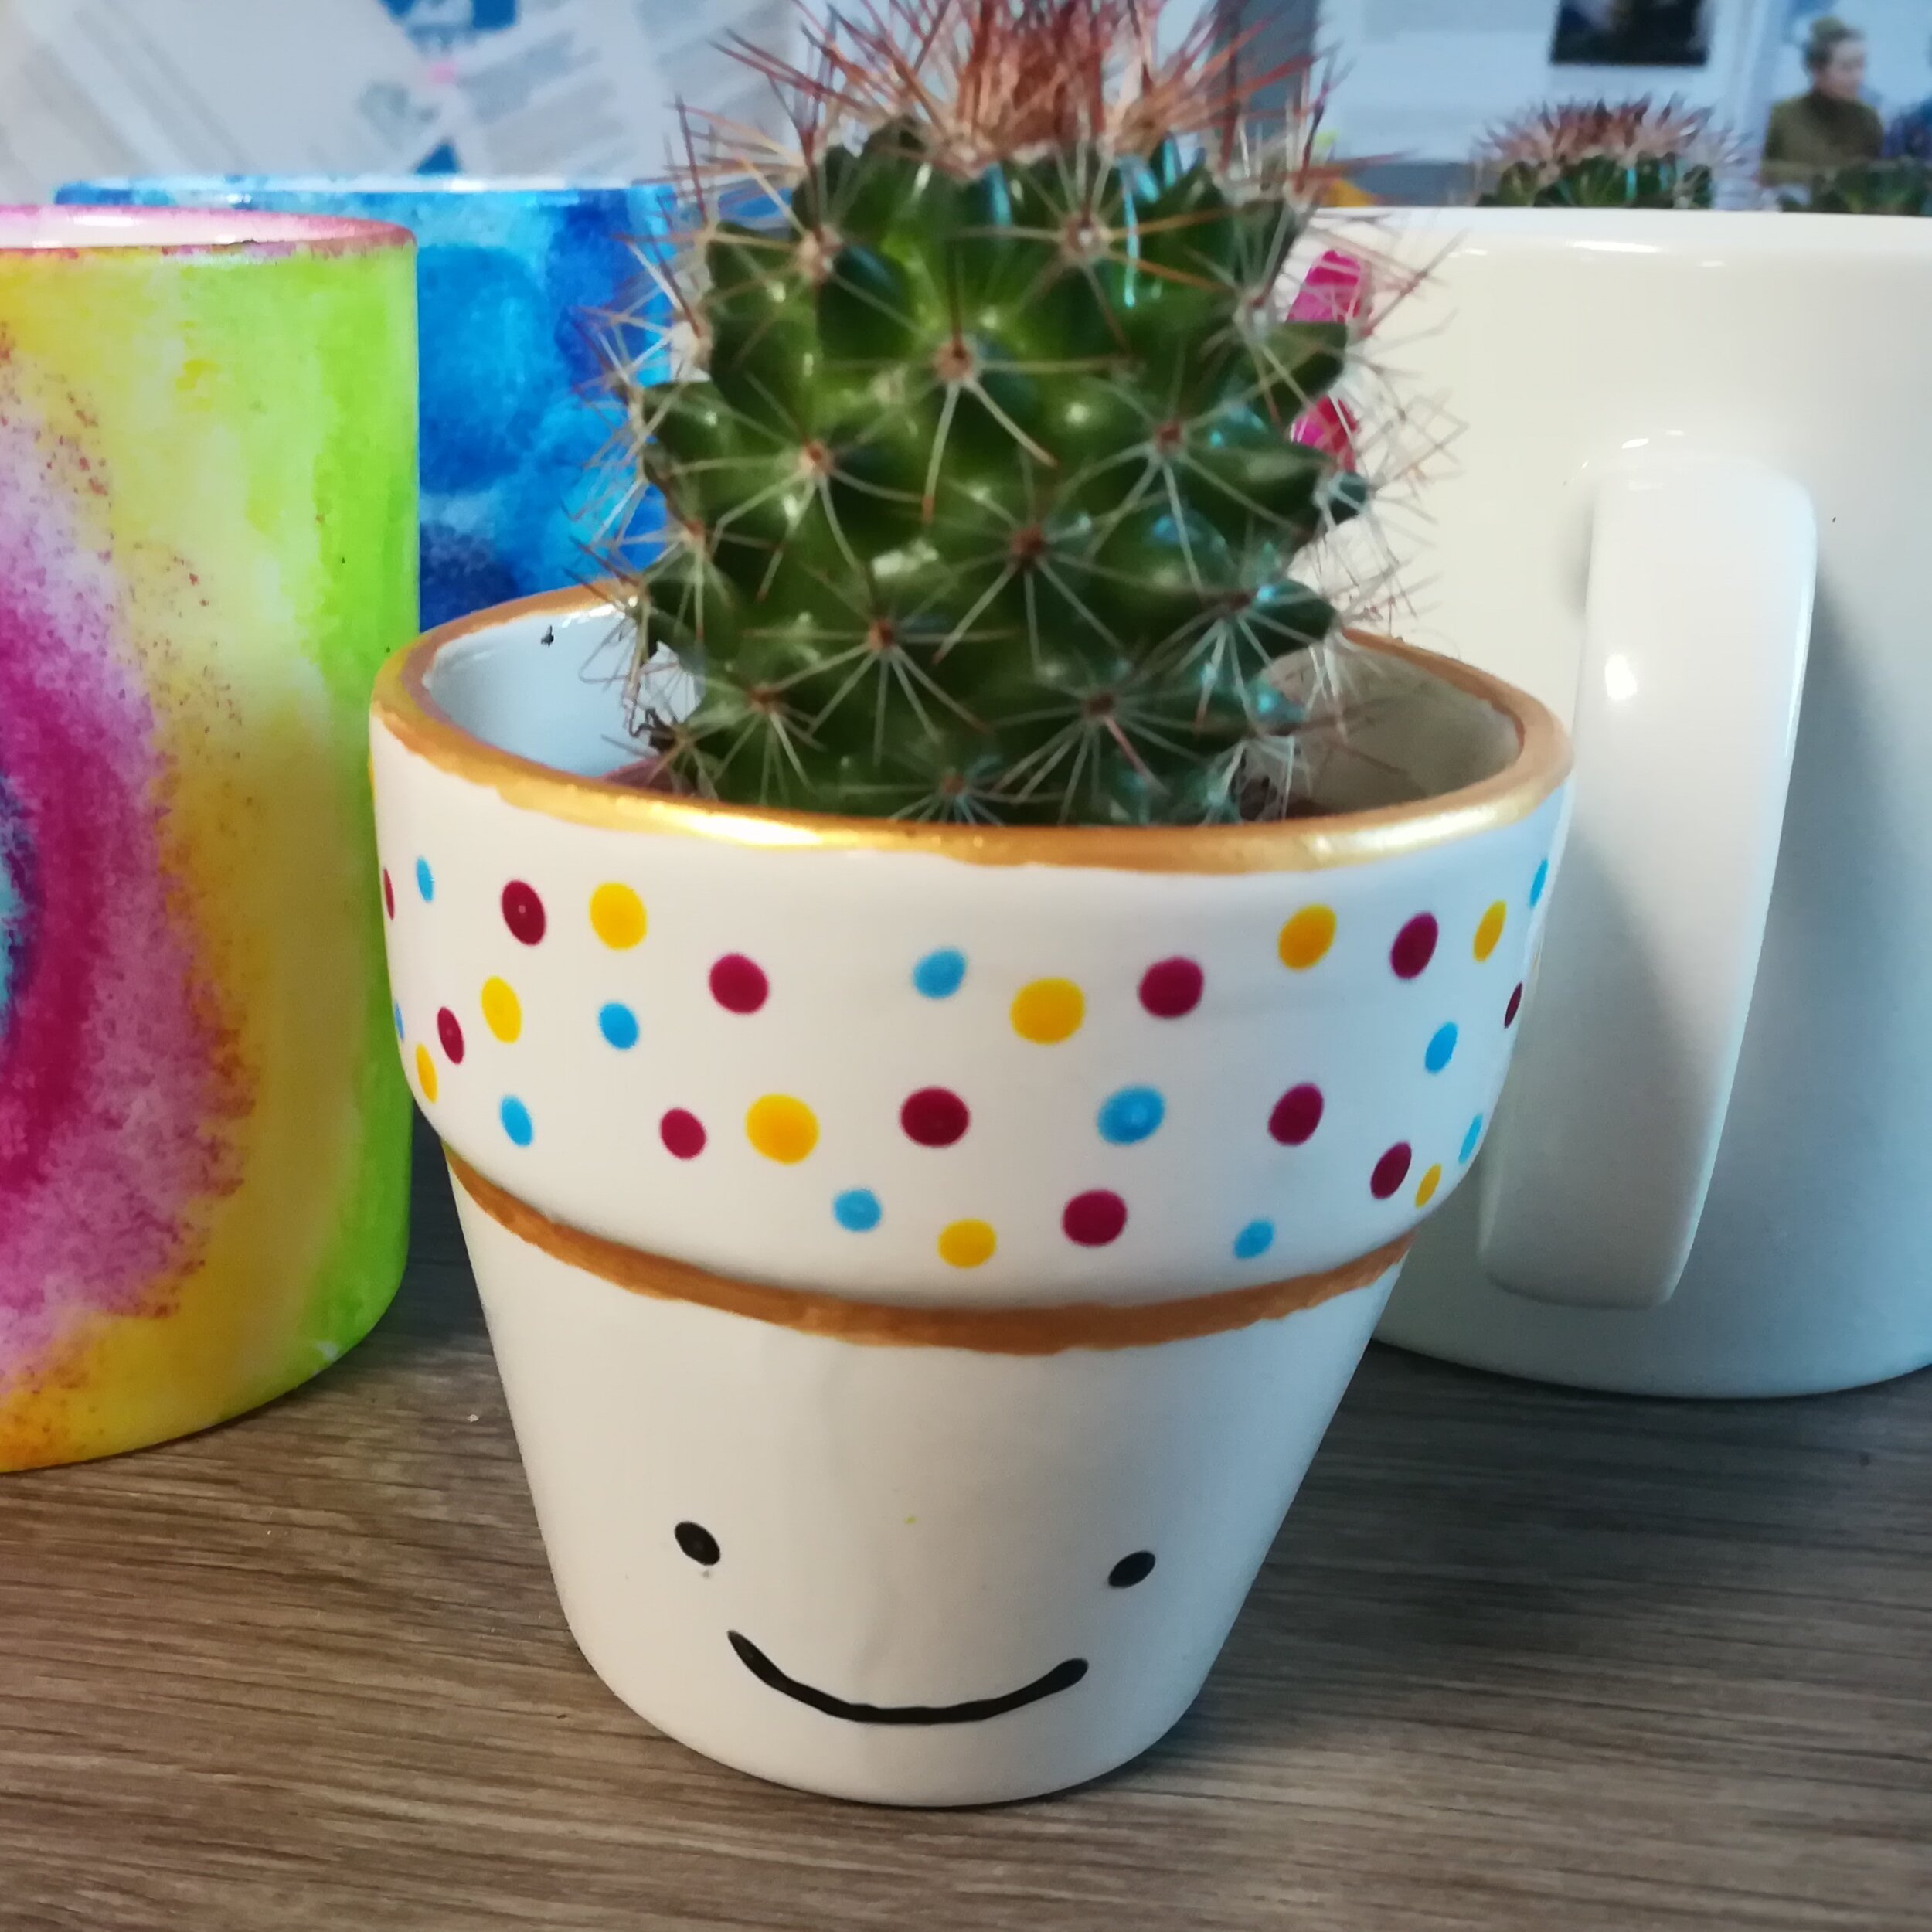
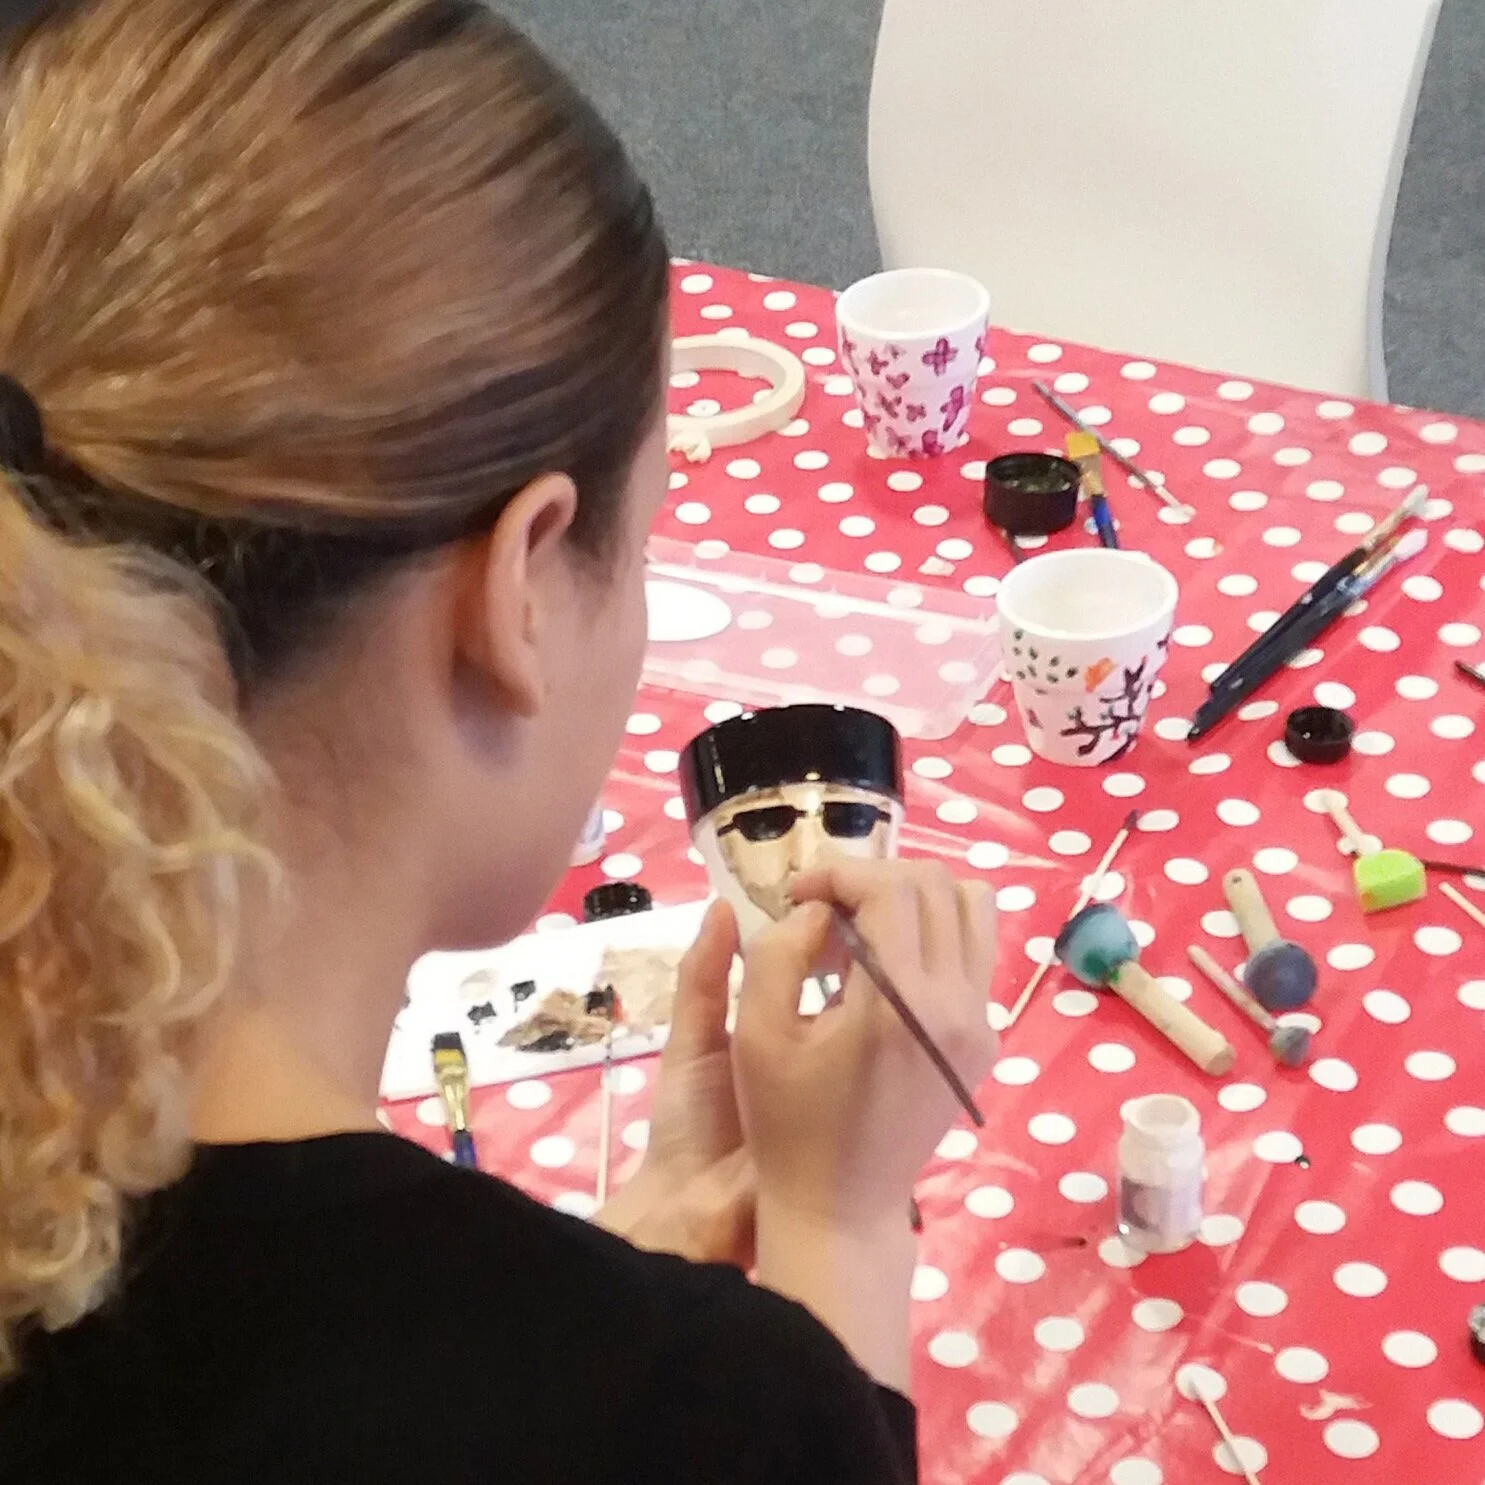
Now is your time to get creative! What will you paint? You could think up a theme (such as fruits, the weather, types of flowers, etc.) that will flow across all three pots for a coordinated set, or make each pot totally unique!
Or check out other designs our crafty hens have painted in the past for even more ideas and examples to inspire you





Ready to start gardening?
Once your marvellous plant pots are painted and completely dry, you can start to sow the seeds. We advise leaving your pots to fully dry before baking in the oven (as per the care label included in your kit) to avoid spoiling your designs. Then follow the link below for all the tips and tricks for growing your windowsill garden!
to win in our monthly mini craft kit giveaway
Find the T&C’s here.


